
Retro Necromancy – Breathing New Life Into my SNES Junior
Published on by noot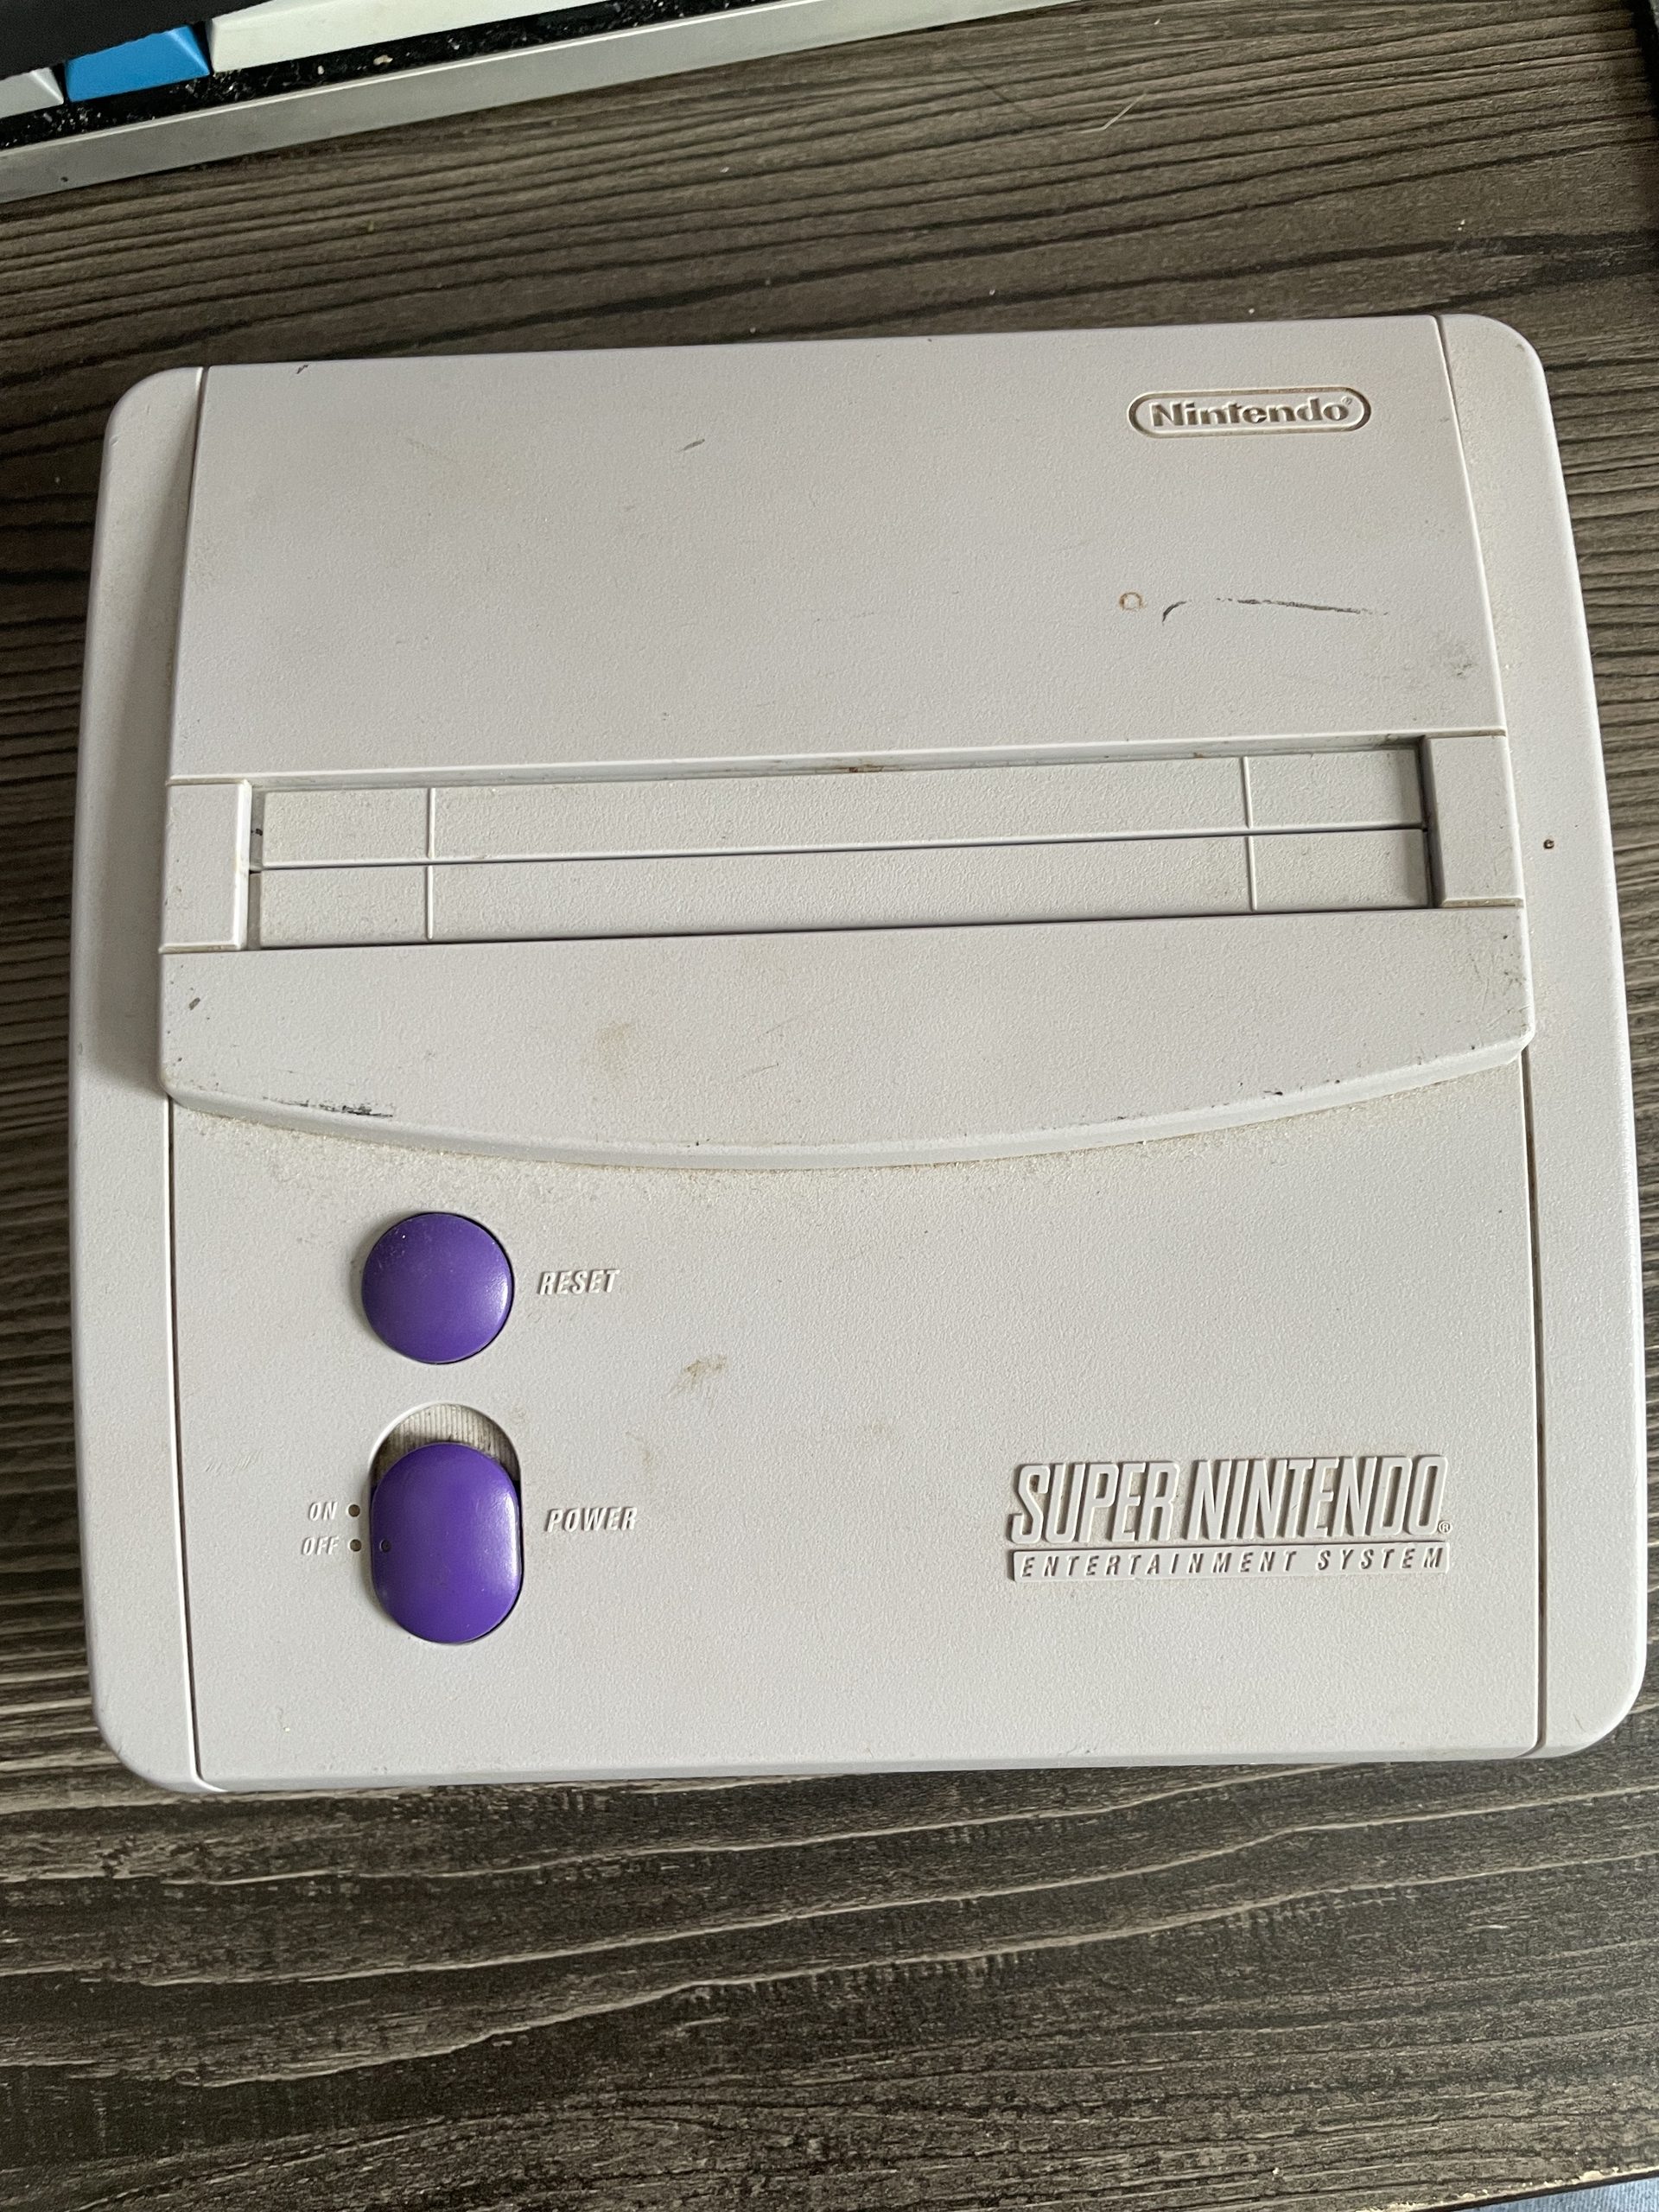
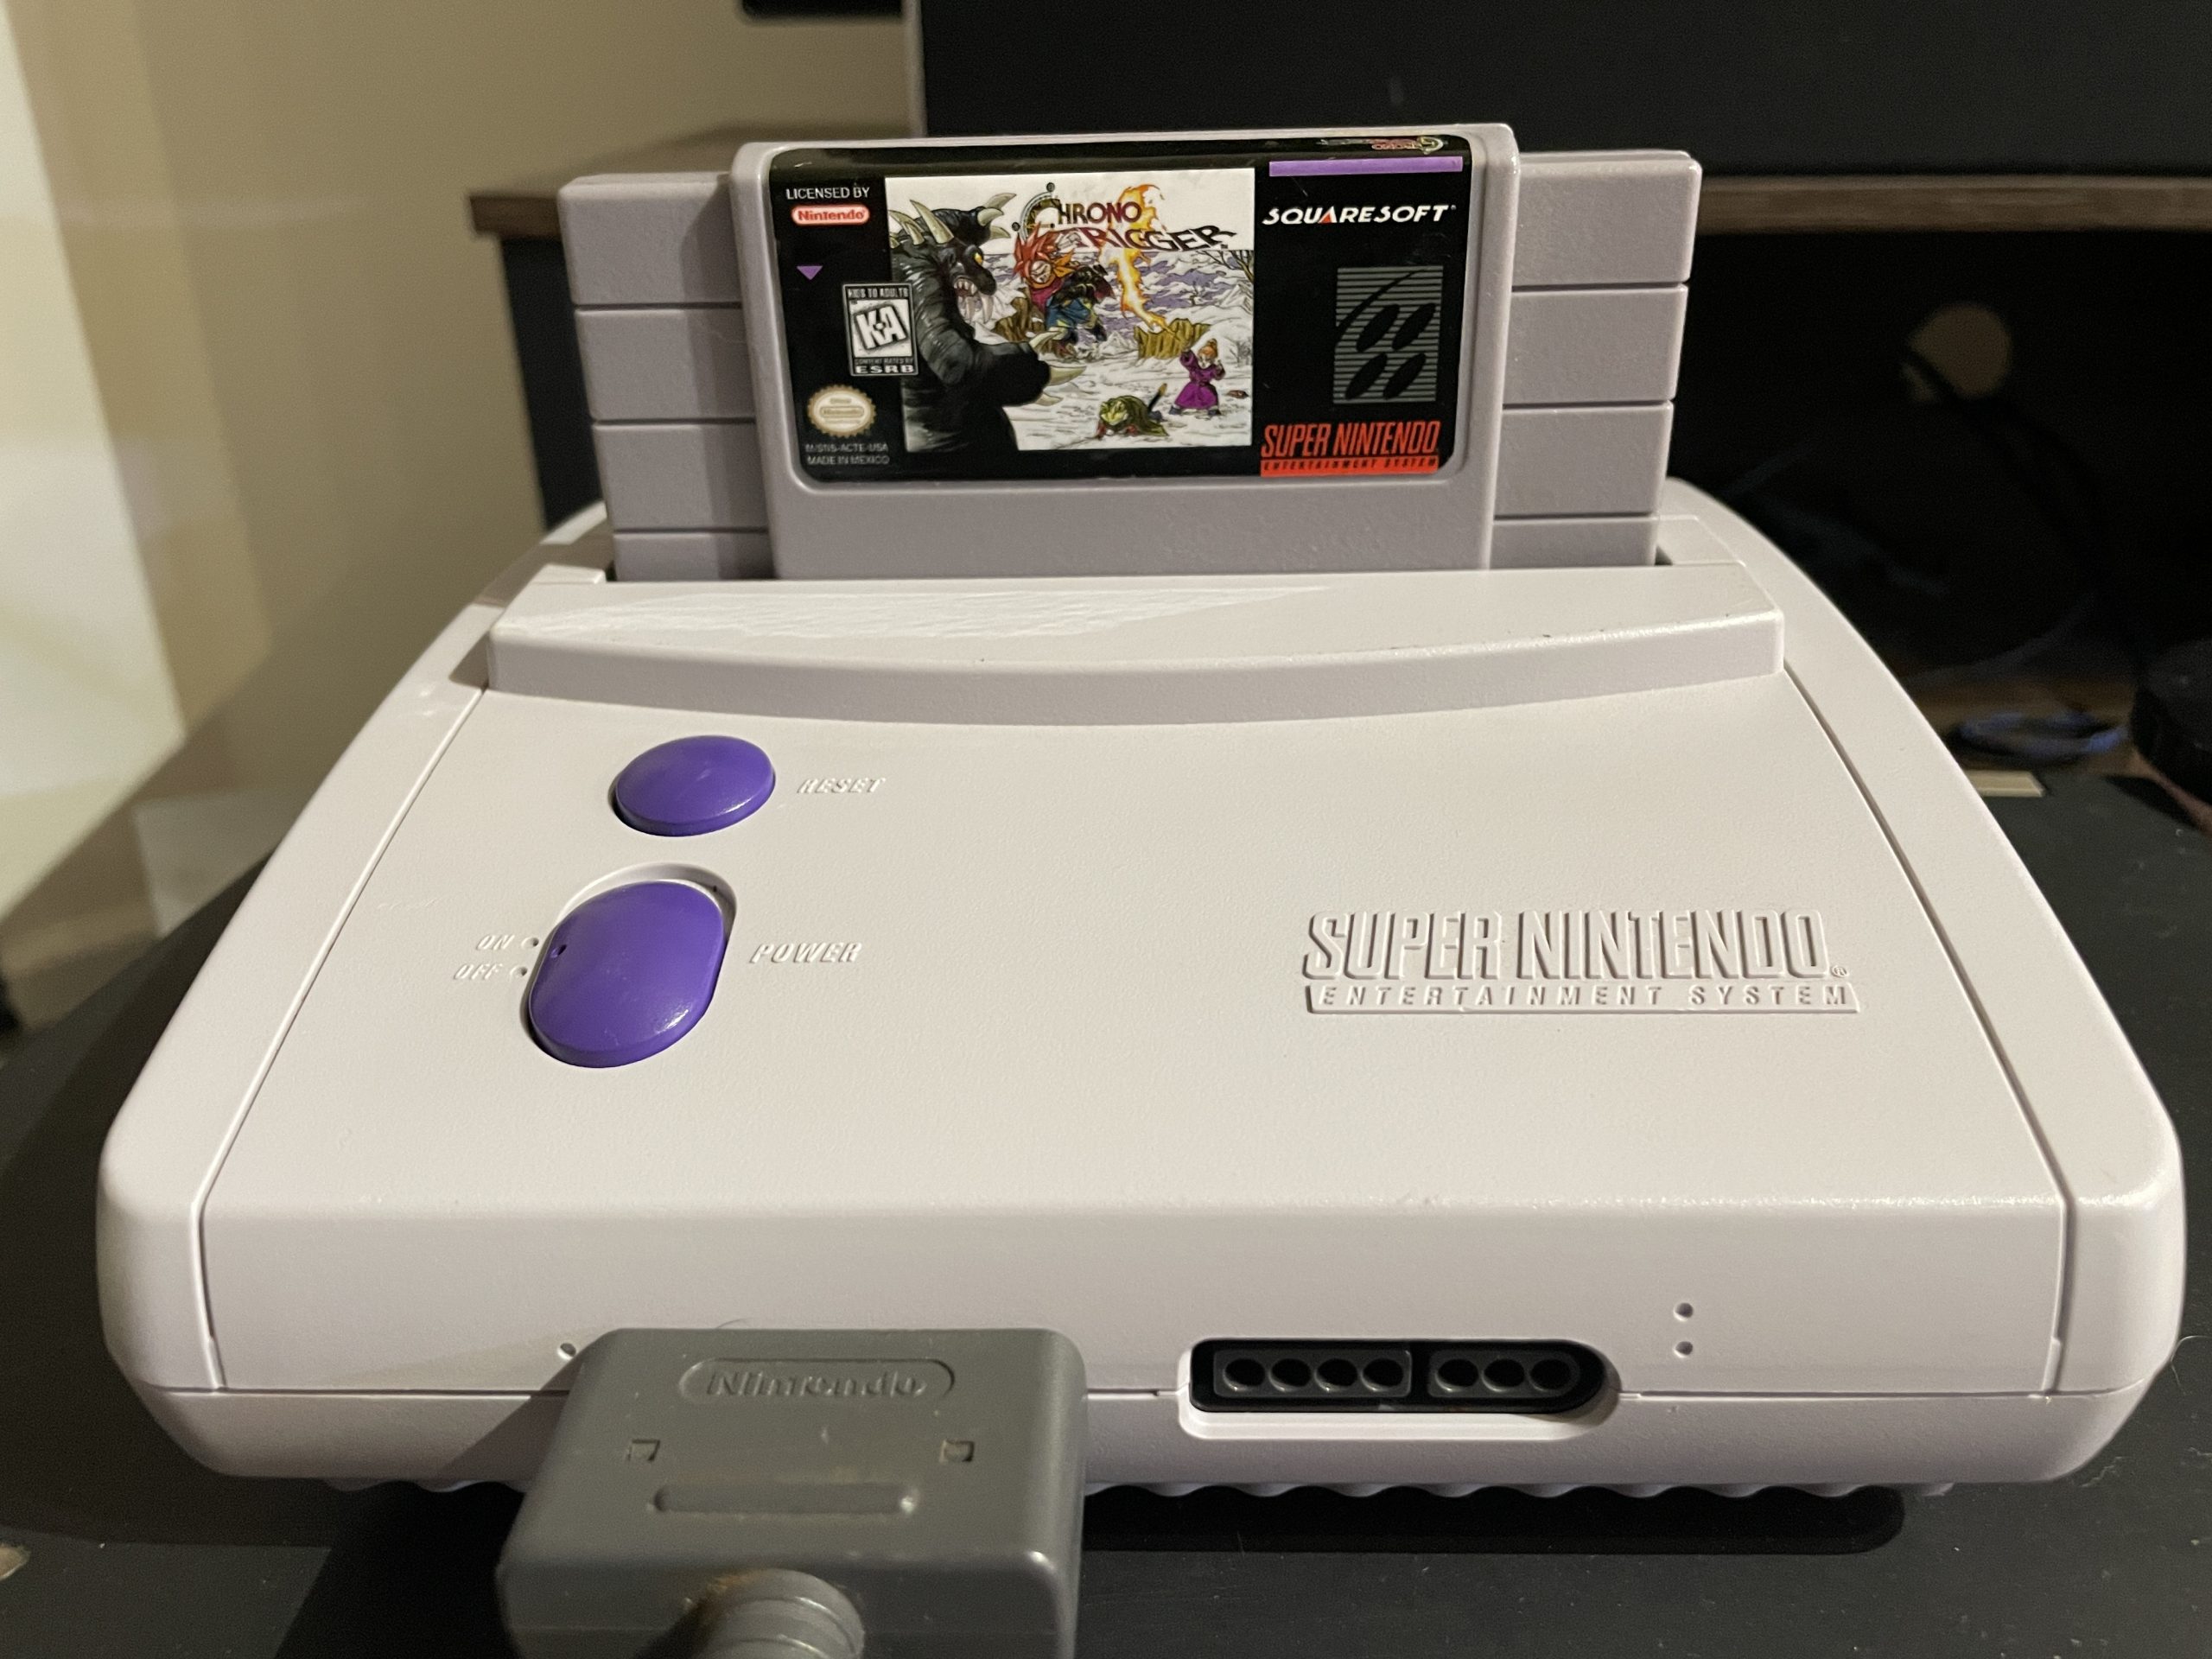
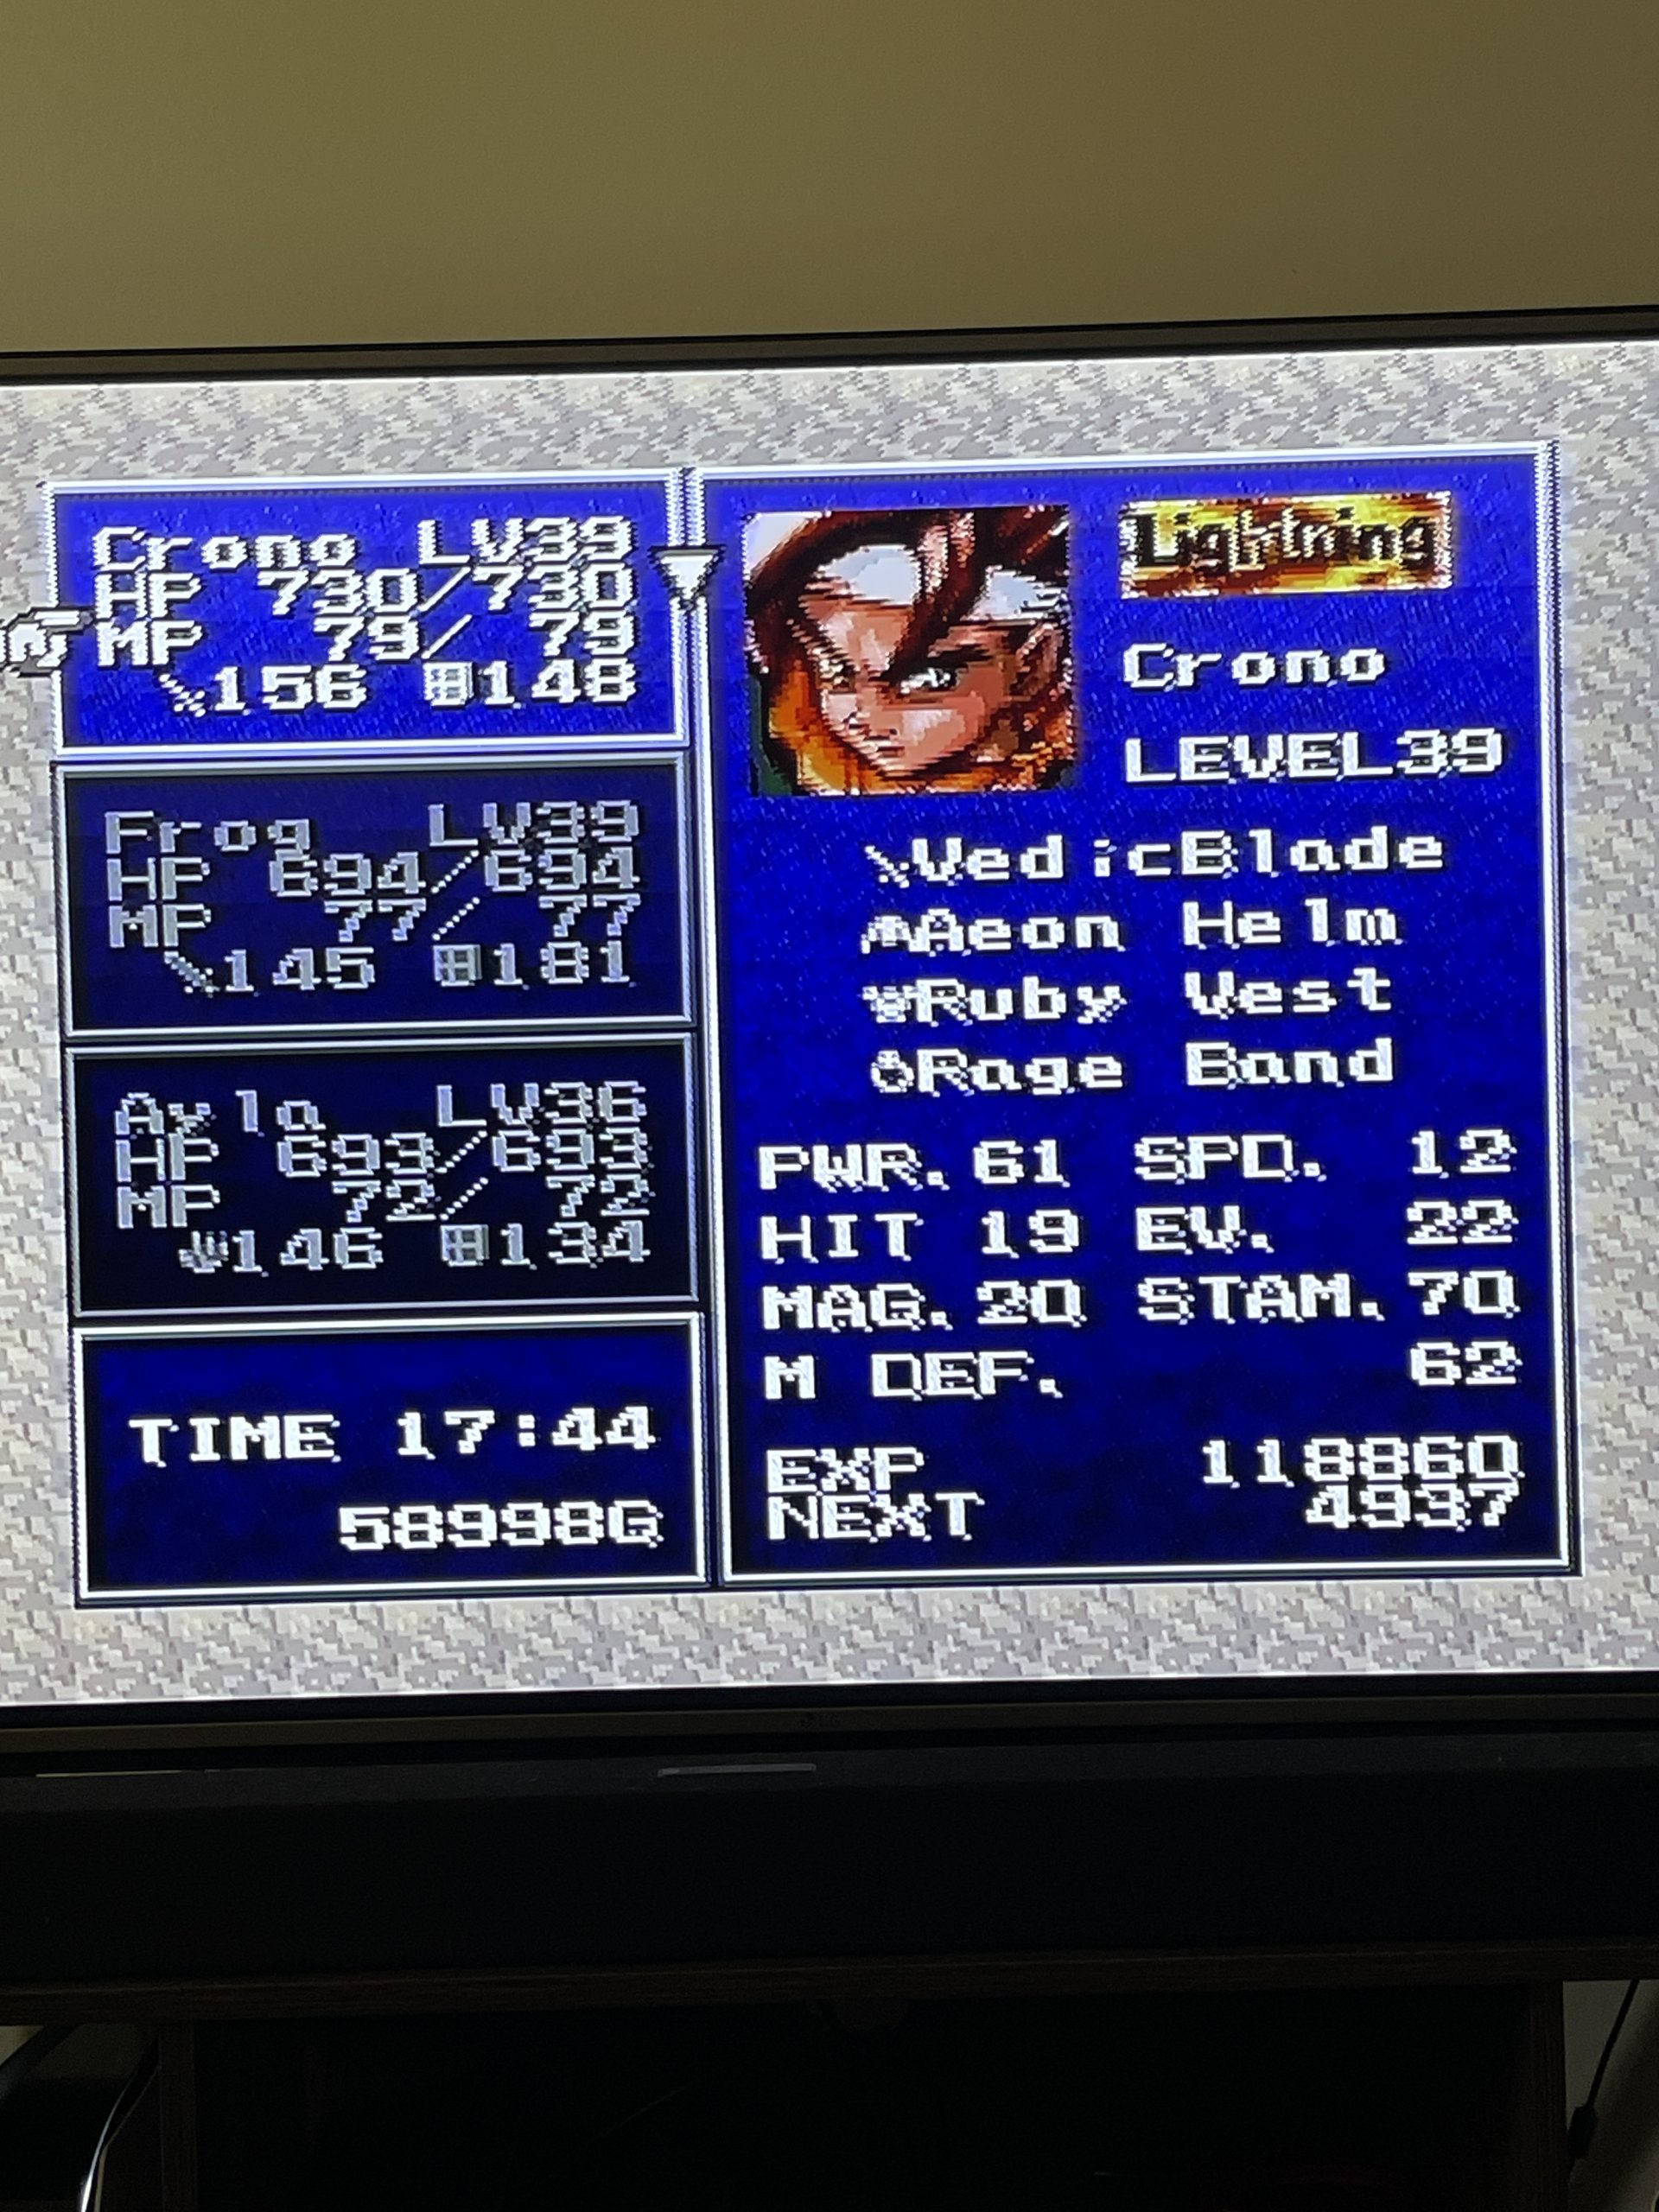
Most who know me know that I love my retro games. Wanting to see where in the Chrono Trigger endgame I was when I last played (it must have been 3 or 4 years), I decided to break out one of my favorite consoles of all time for storage: The Super Nintendo.
I dug out the console, cords, a controller, and my copy of Chrono Trigger, and got to hooking it up to my TV.
Sidenote: I really wish I hadn’t gotten rid of my old Sony Trinitron 🥲
The SNES no longer powered on. I was so disappointed, but given the current state the system was in, I wasn’t surprised. It looked like some moisture may have gotten to it while it’s been stored away.
Since I had it out, I decided I was going to clean it up and try to figure out what is wrong.
(Spoiler: Cleaning the motherboard up solved the power issue)
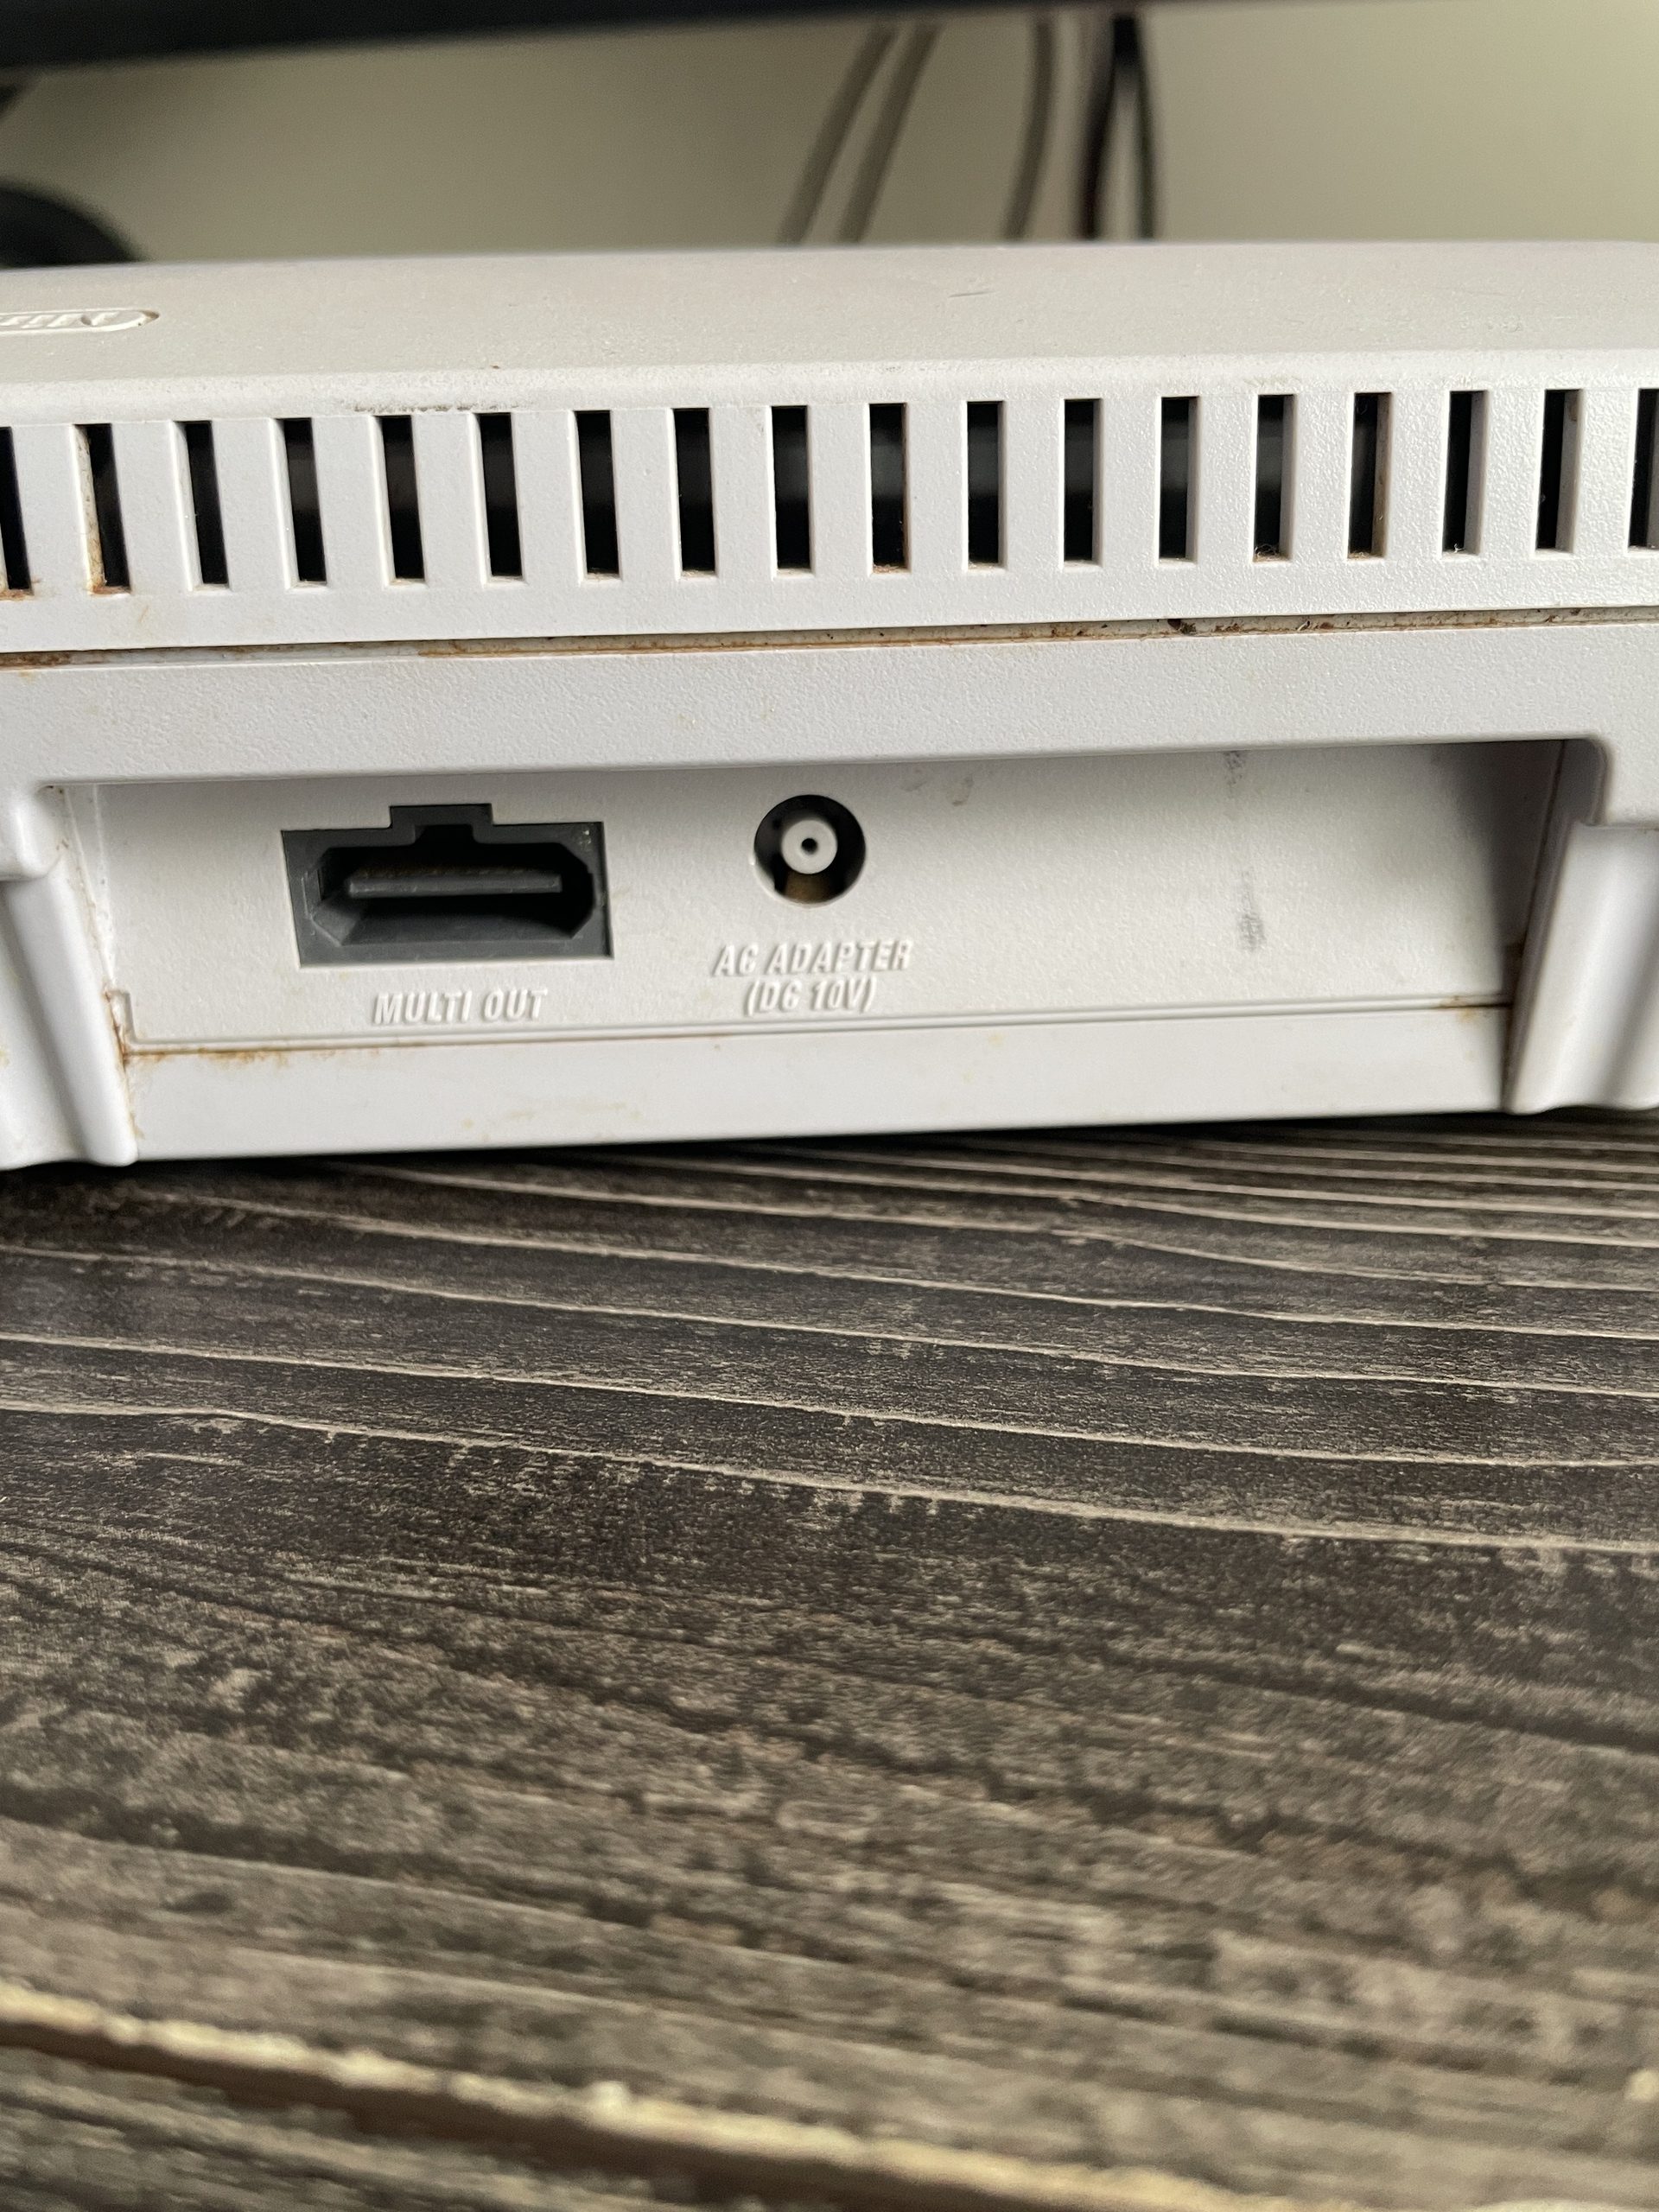
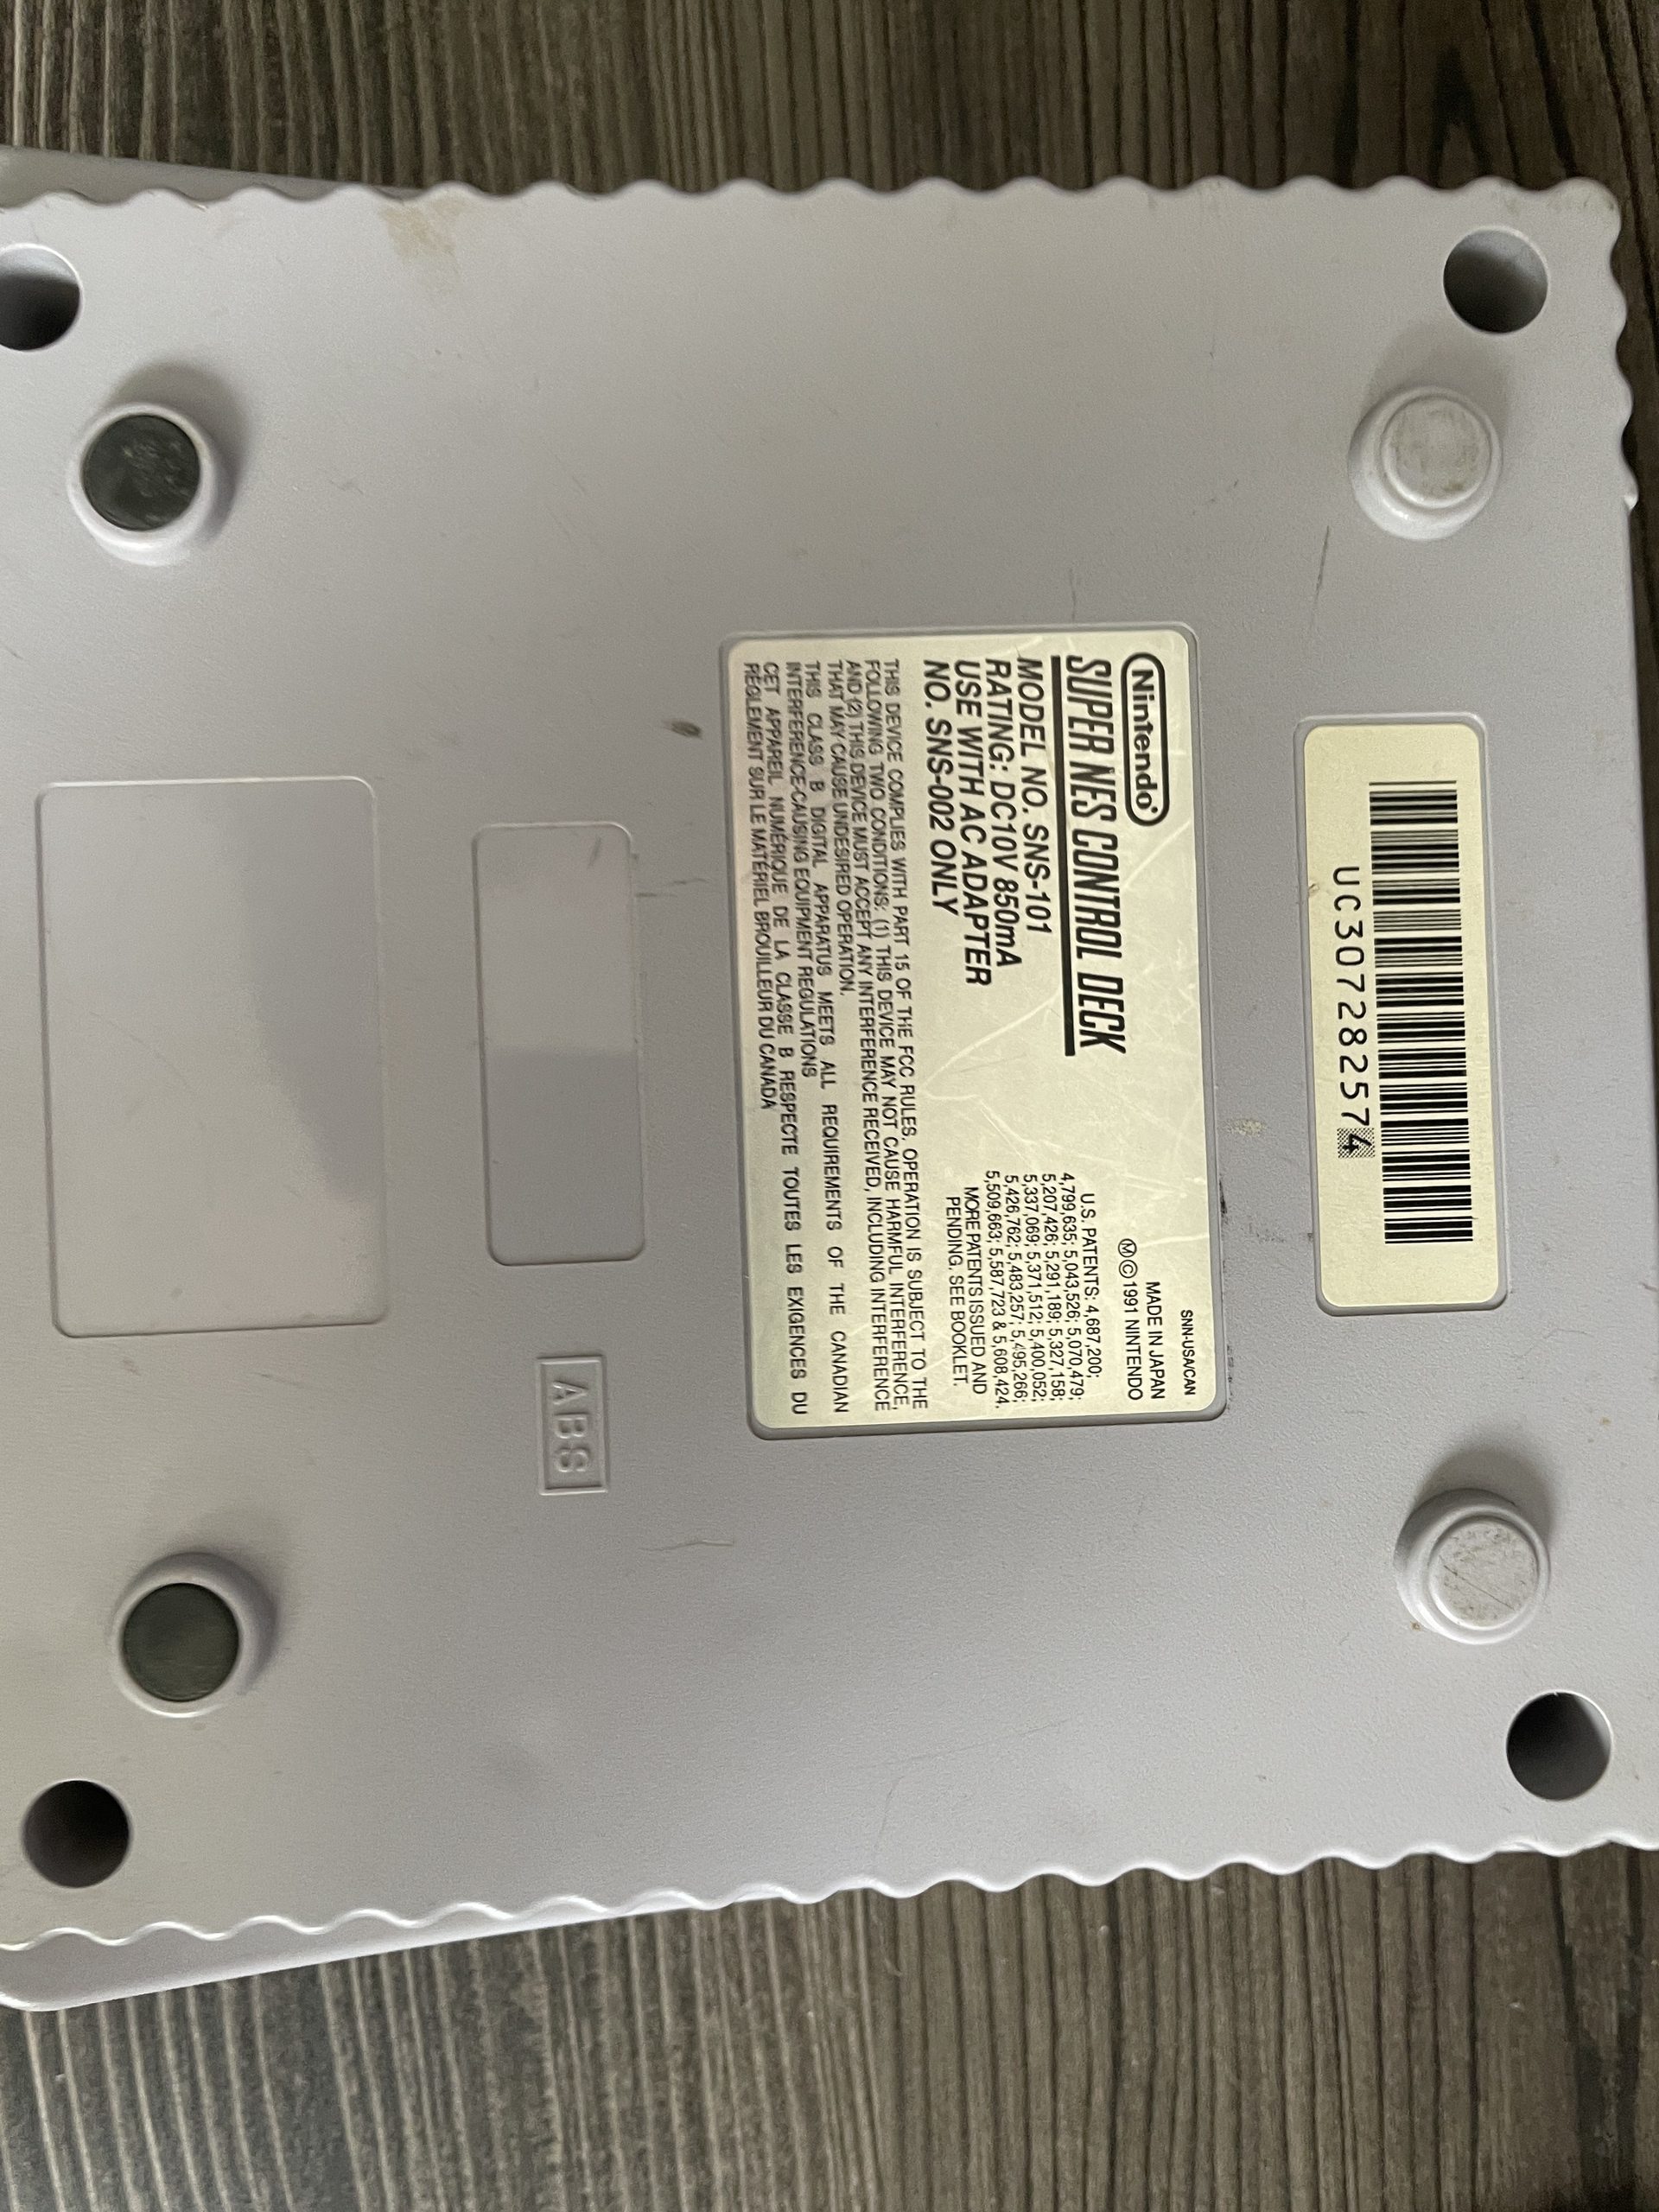
Here is what the SNES Jr. looked like before the revival.
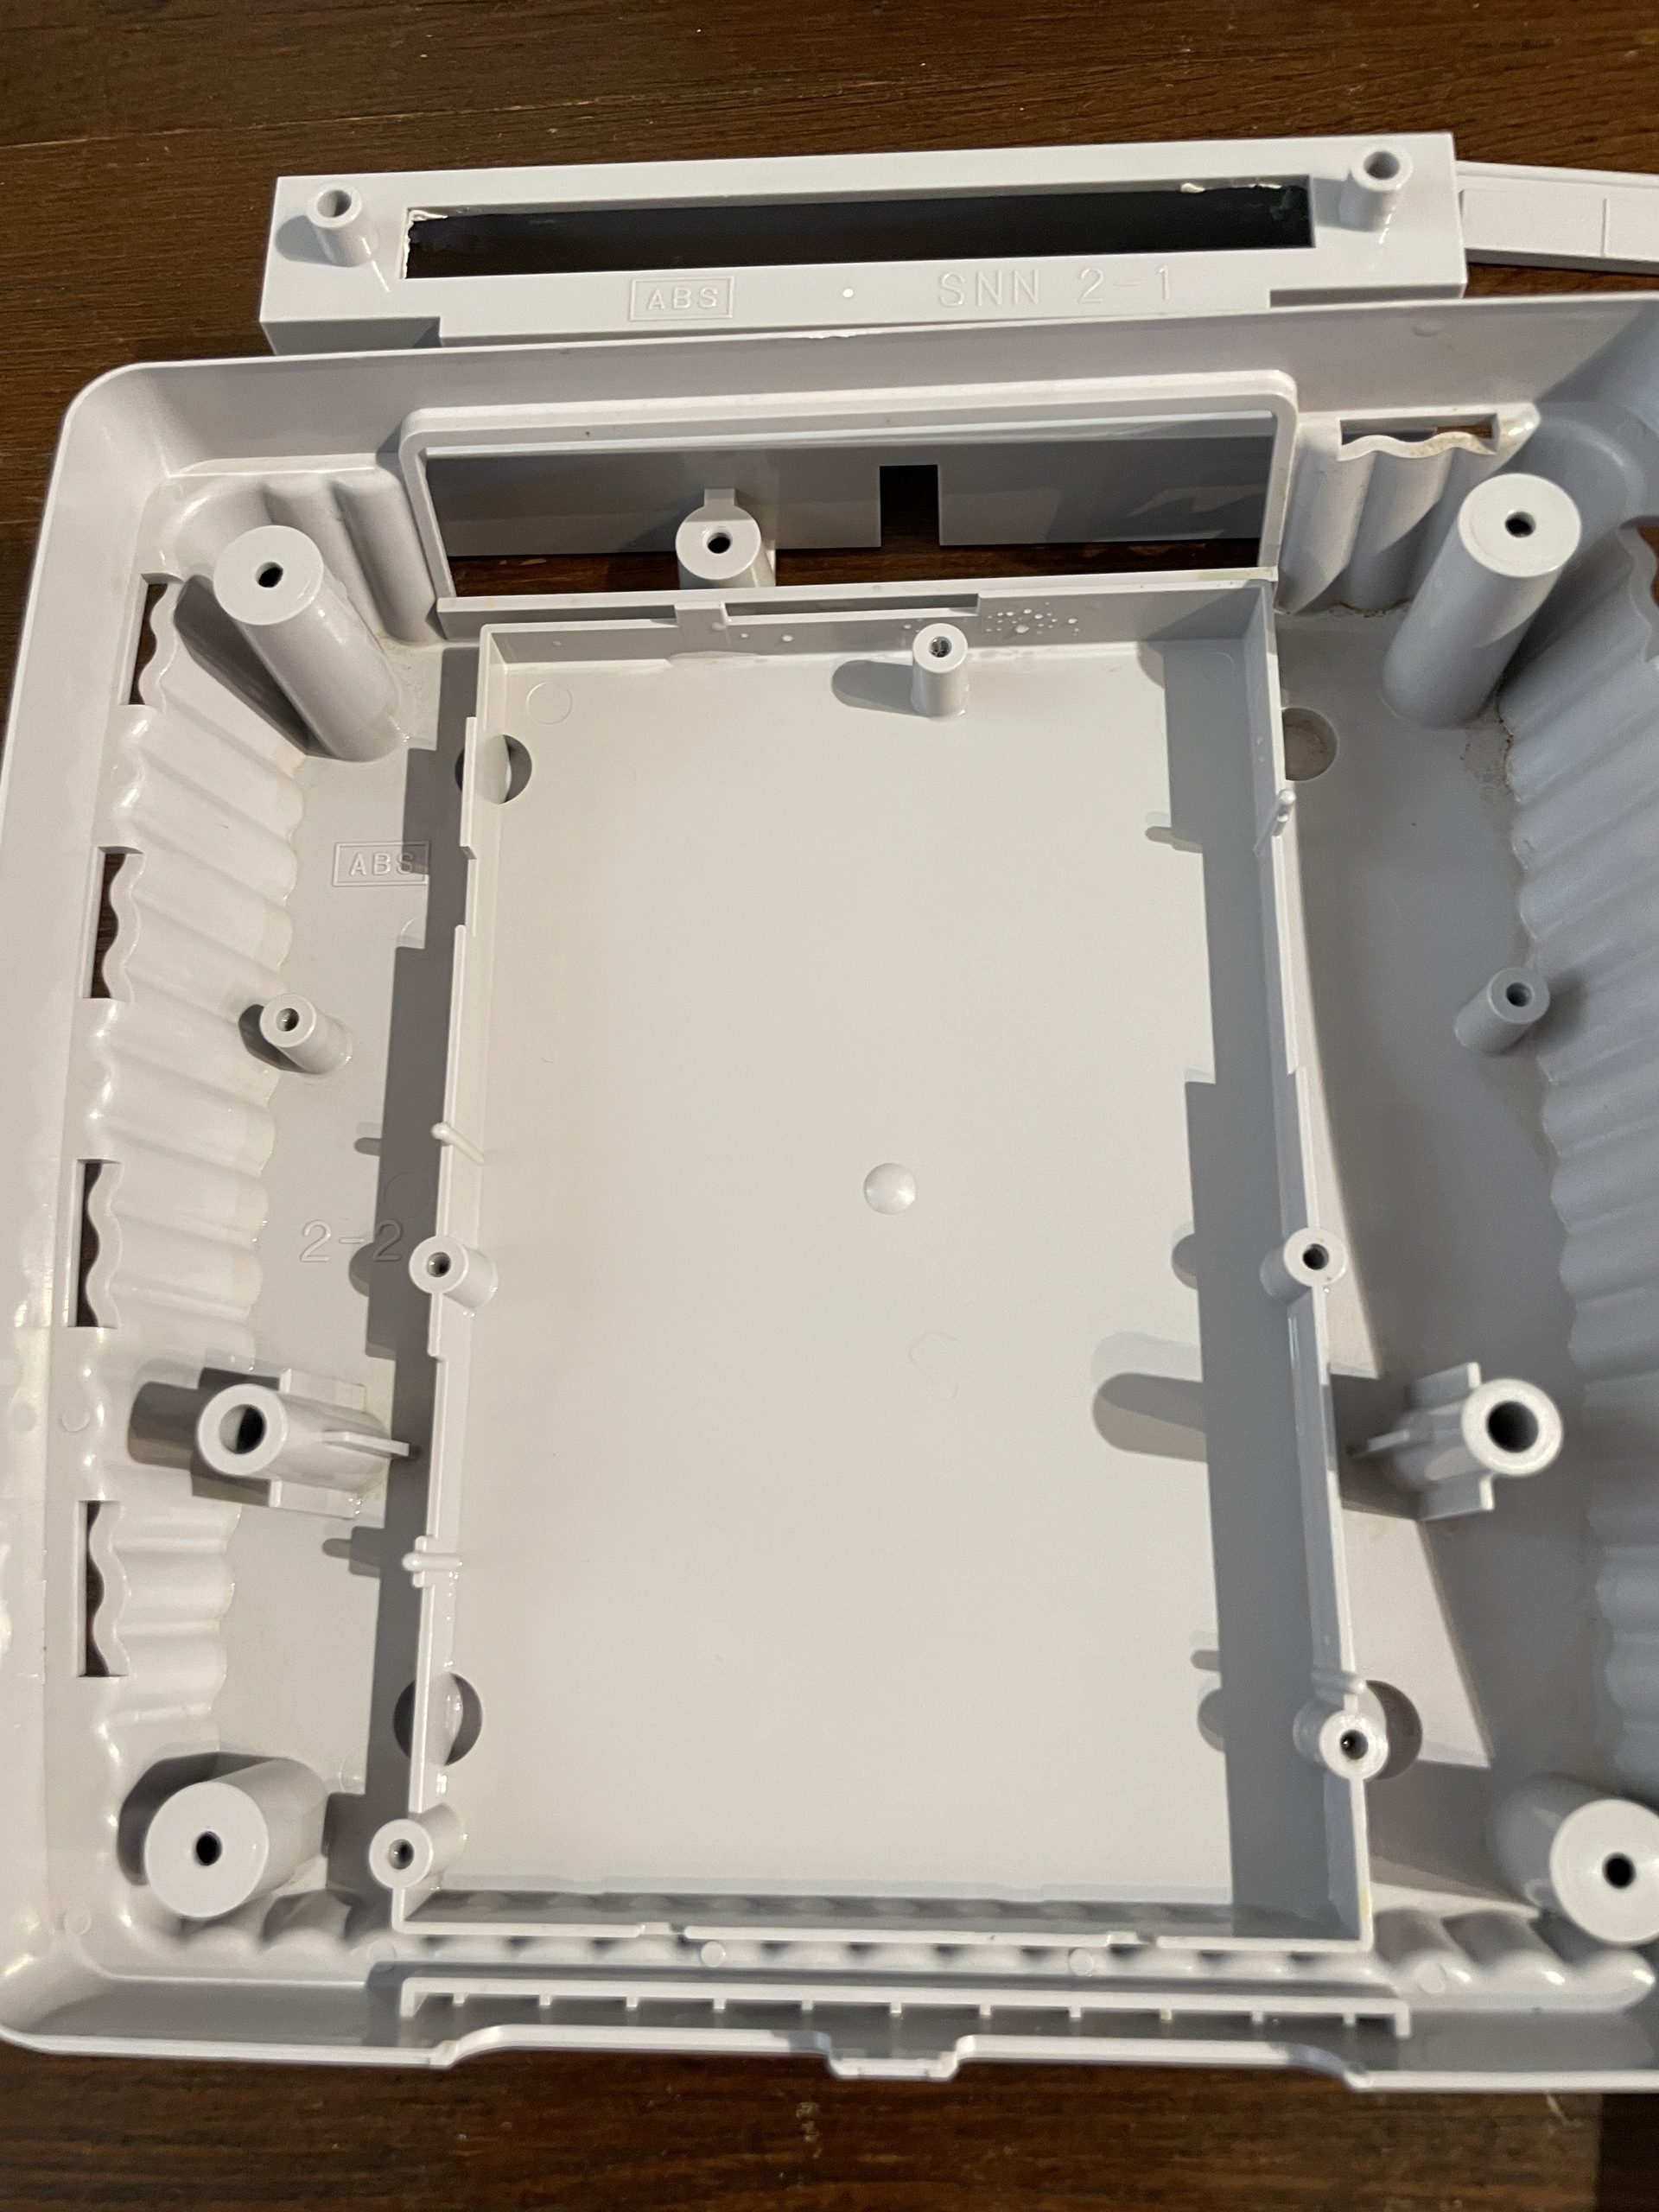
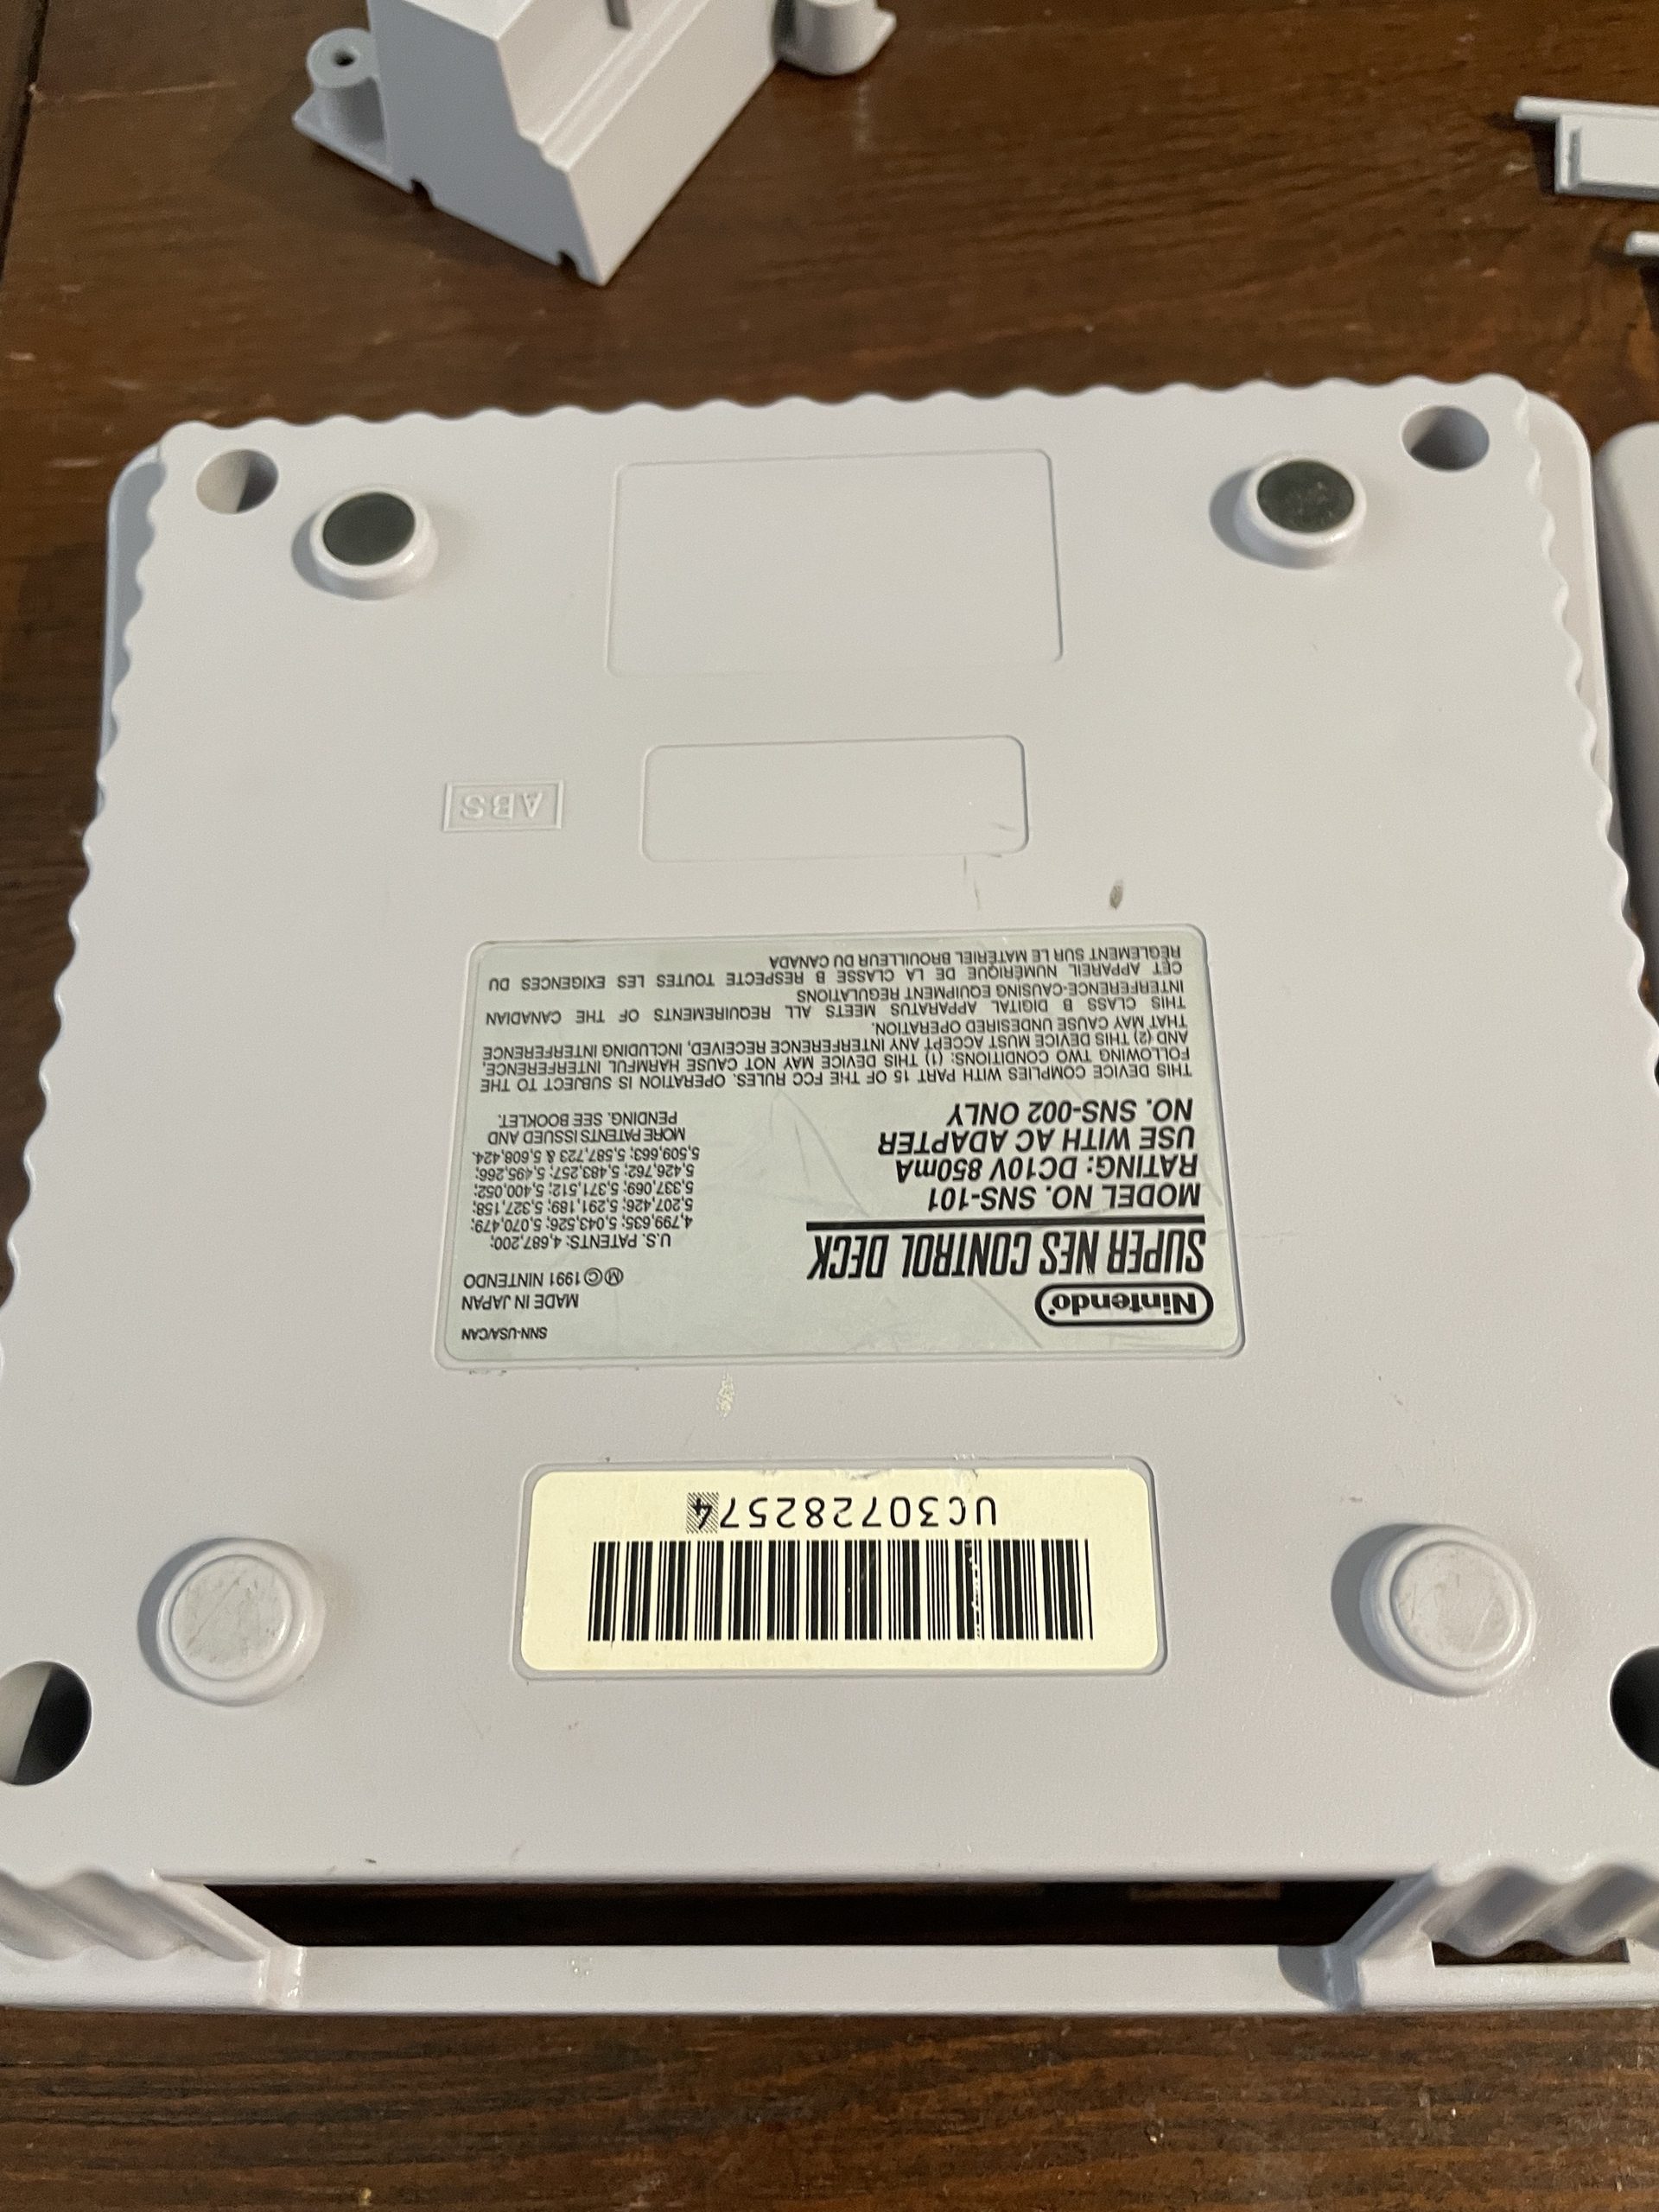
Gross. I started to break it all down. The SNES Jr. is actually really easy to disassemble. There are only 4 screws holding the outer shell together.
Protip – For anyone attempting this, it’s actually a fairly easy teardown. The only special tool you really need is a security bit for the shell screws. My ifixit kit has one already, but you can also find them on amazon.
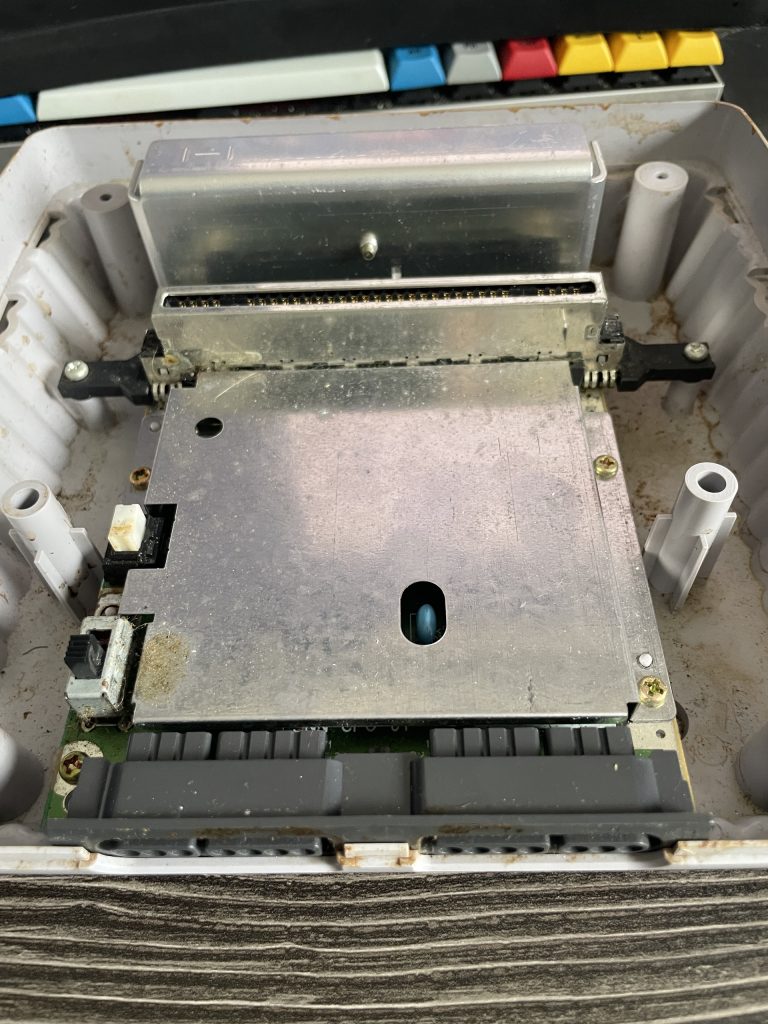
The electronics of the unit are really what I was interested in as that is likely why the SNES will not power on. Unfortunately, the inside of the unit was much more disgusting than it’s shell. Get ready for some grossness.
Yeah so all that dusty orange stuff was caked on to the plastic.
Great.
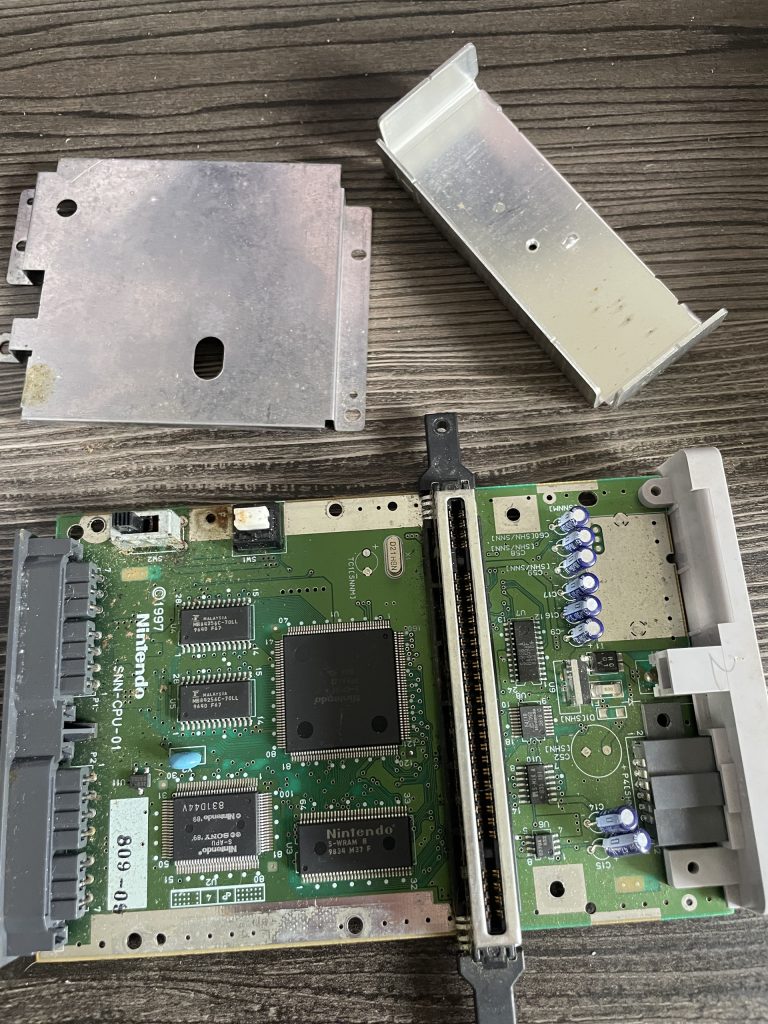
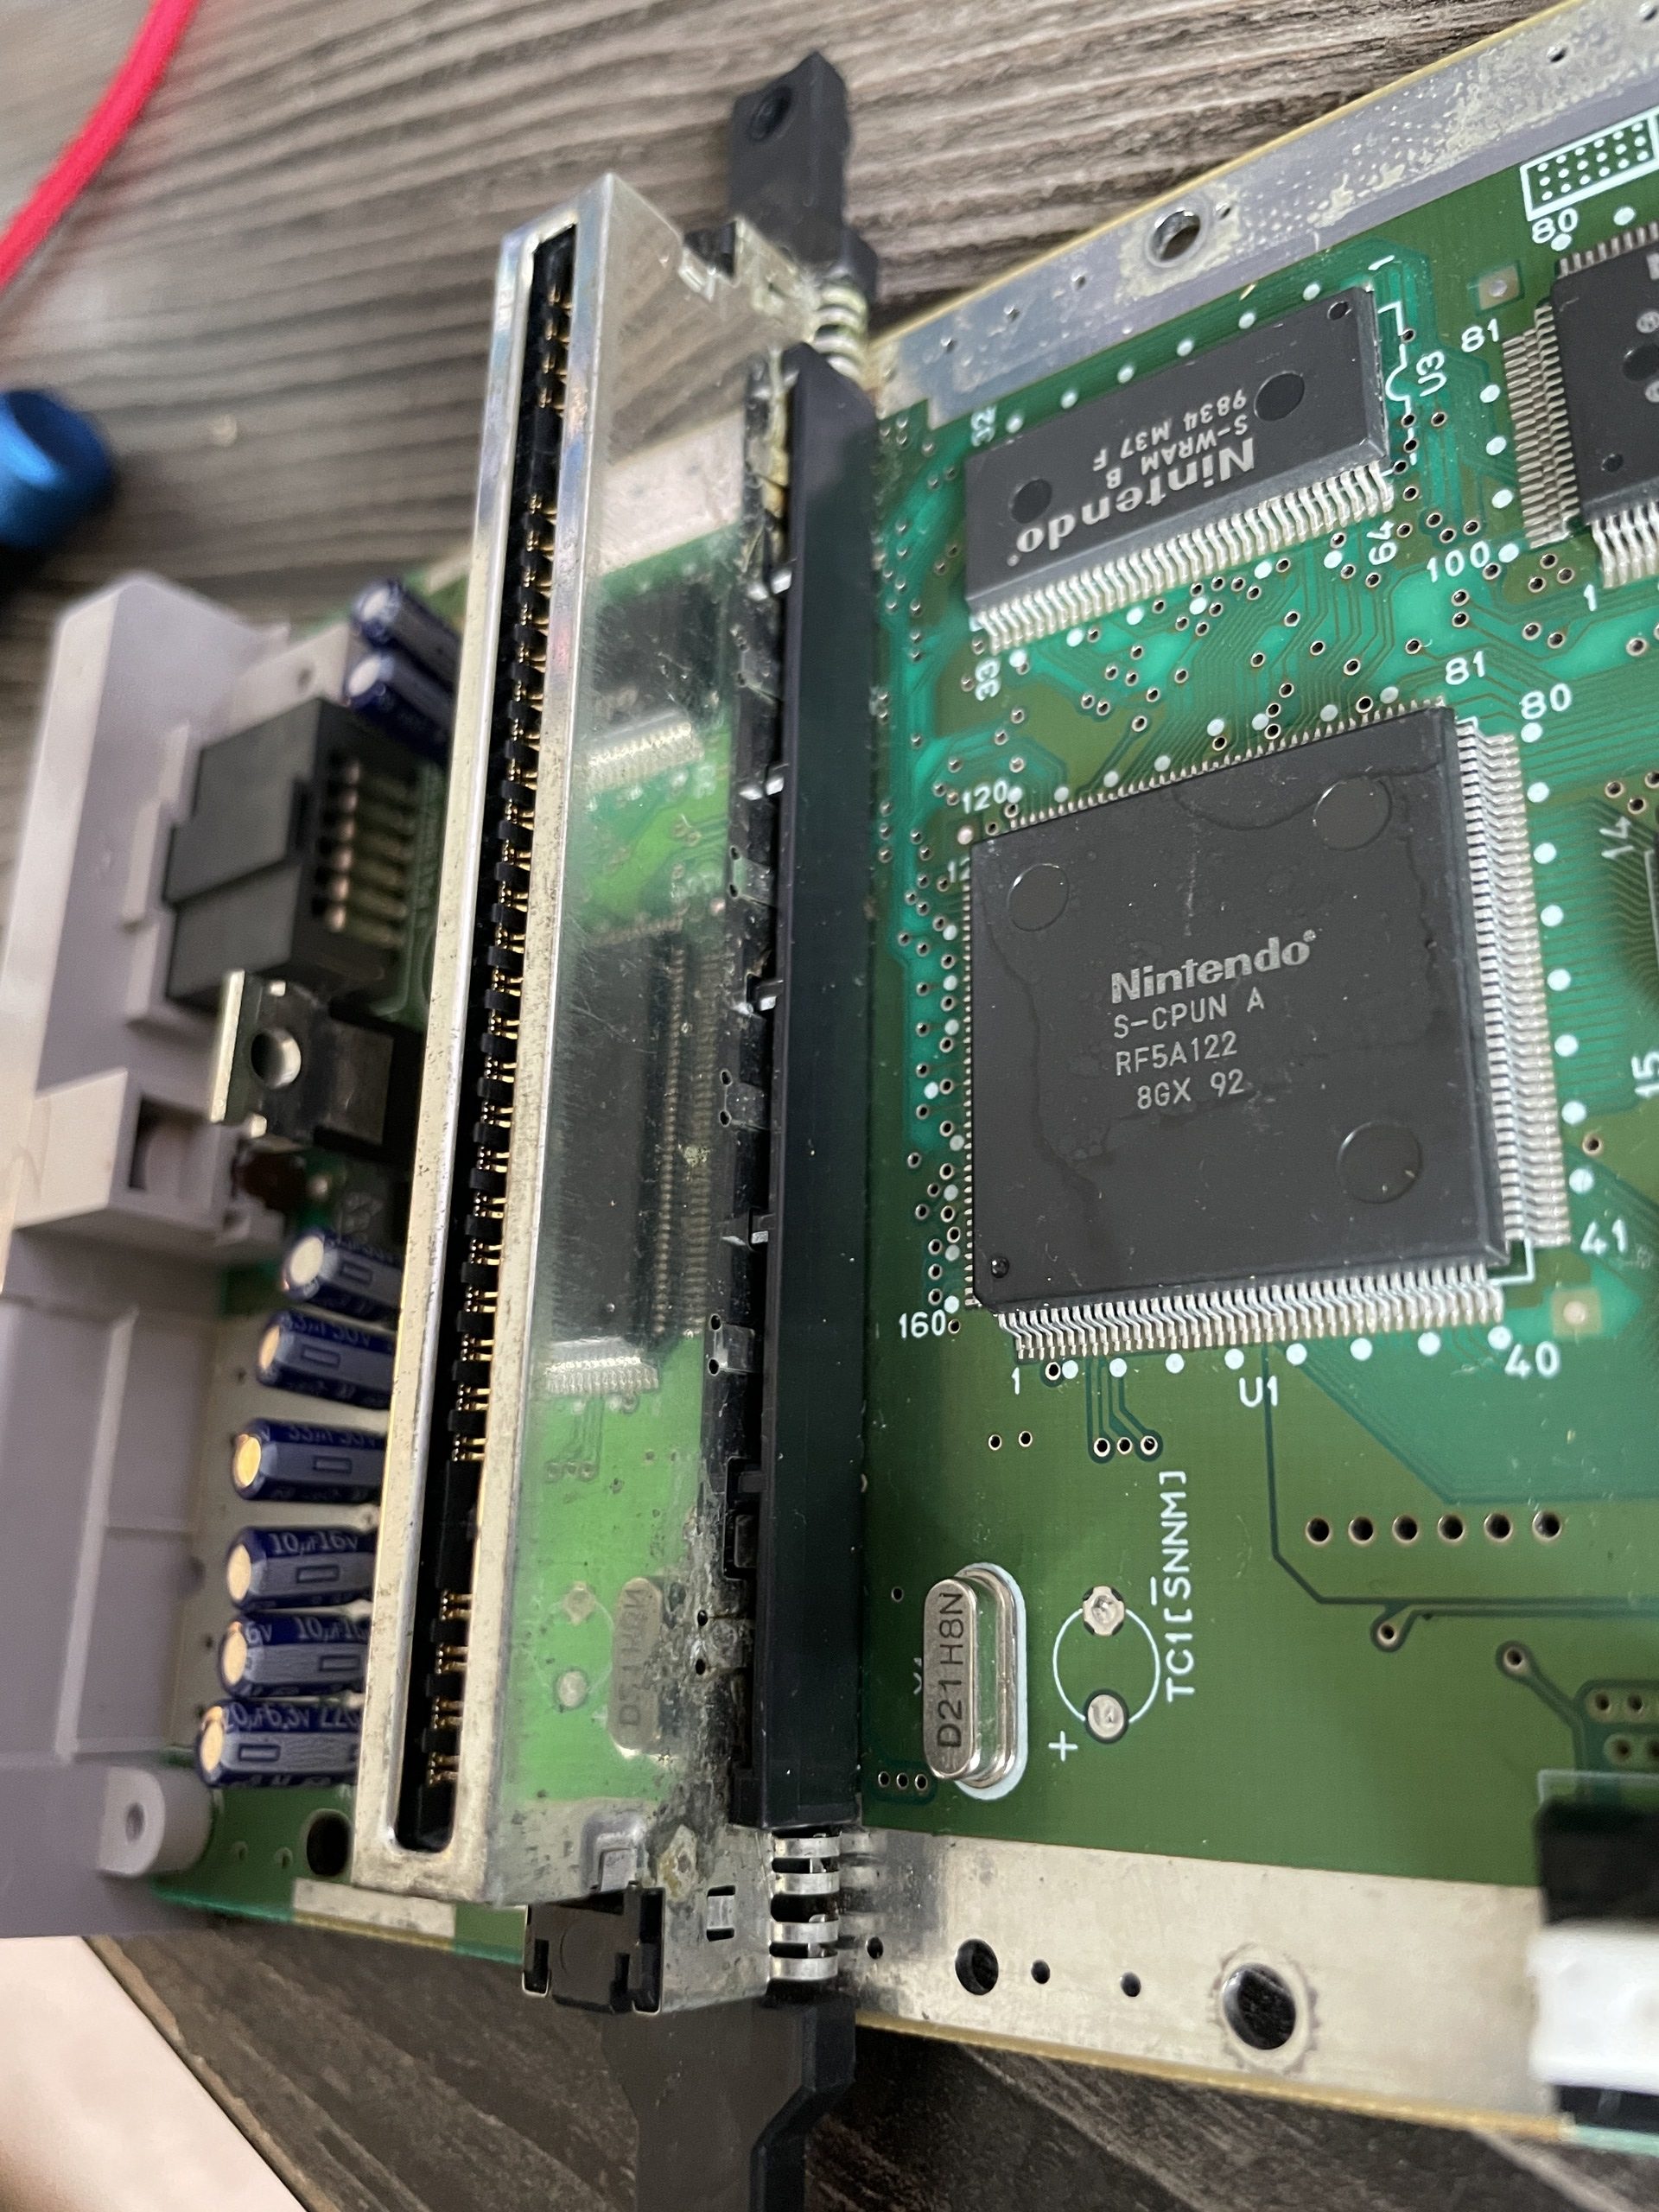
After putting on my hazmat suit, I continued to disassemble the unit and removed the electronics from the shell. I then removed the RF shields. The “guts” of the is basically the motherboard and the 2 RF shields, shown below.
Once I had all the electronics (and metal bits) removed, I took all of the plastics and let them soak in a bucket with warm soapy water while I worked on cleaning the electronics. I forgot to take a picture of this, so just imagine a large bucket full of dish soap suds and plastics 🫧🪣.
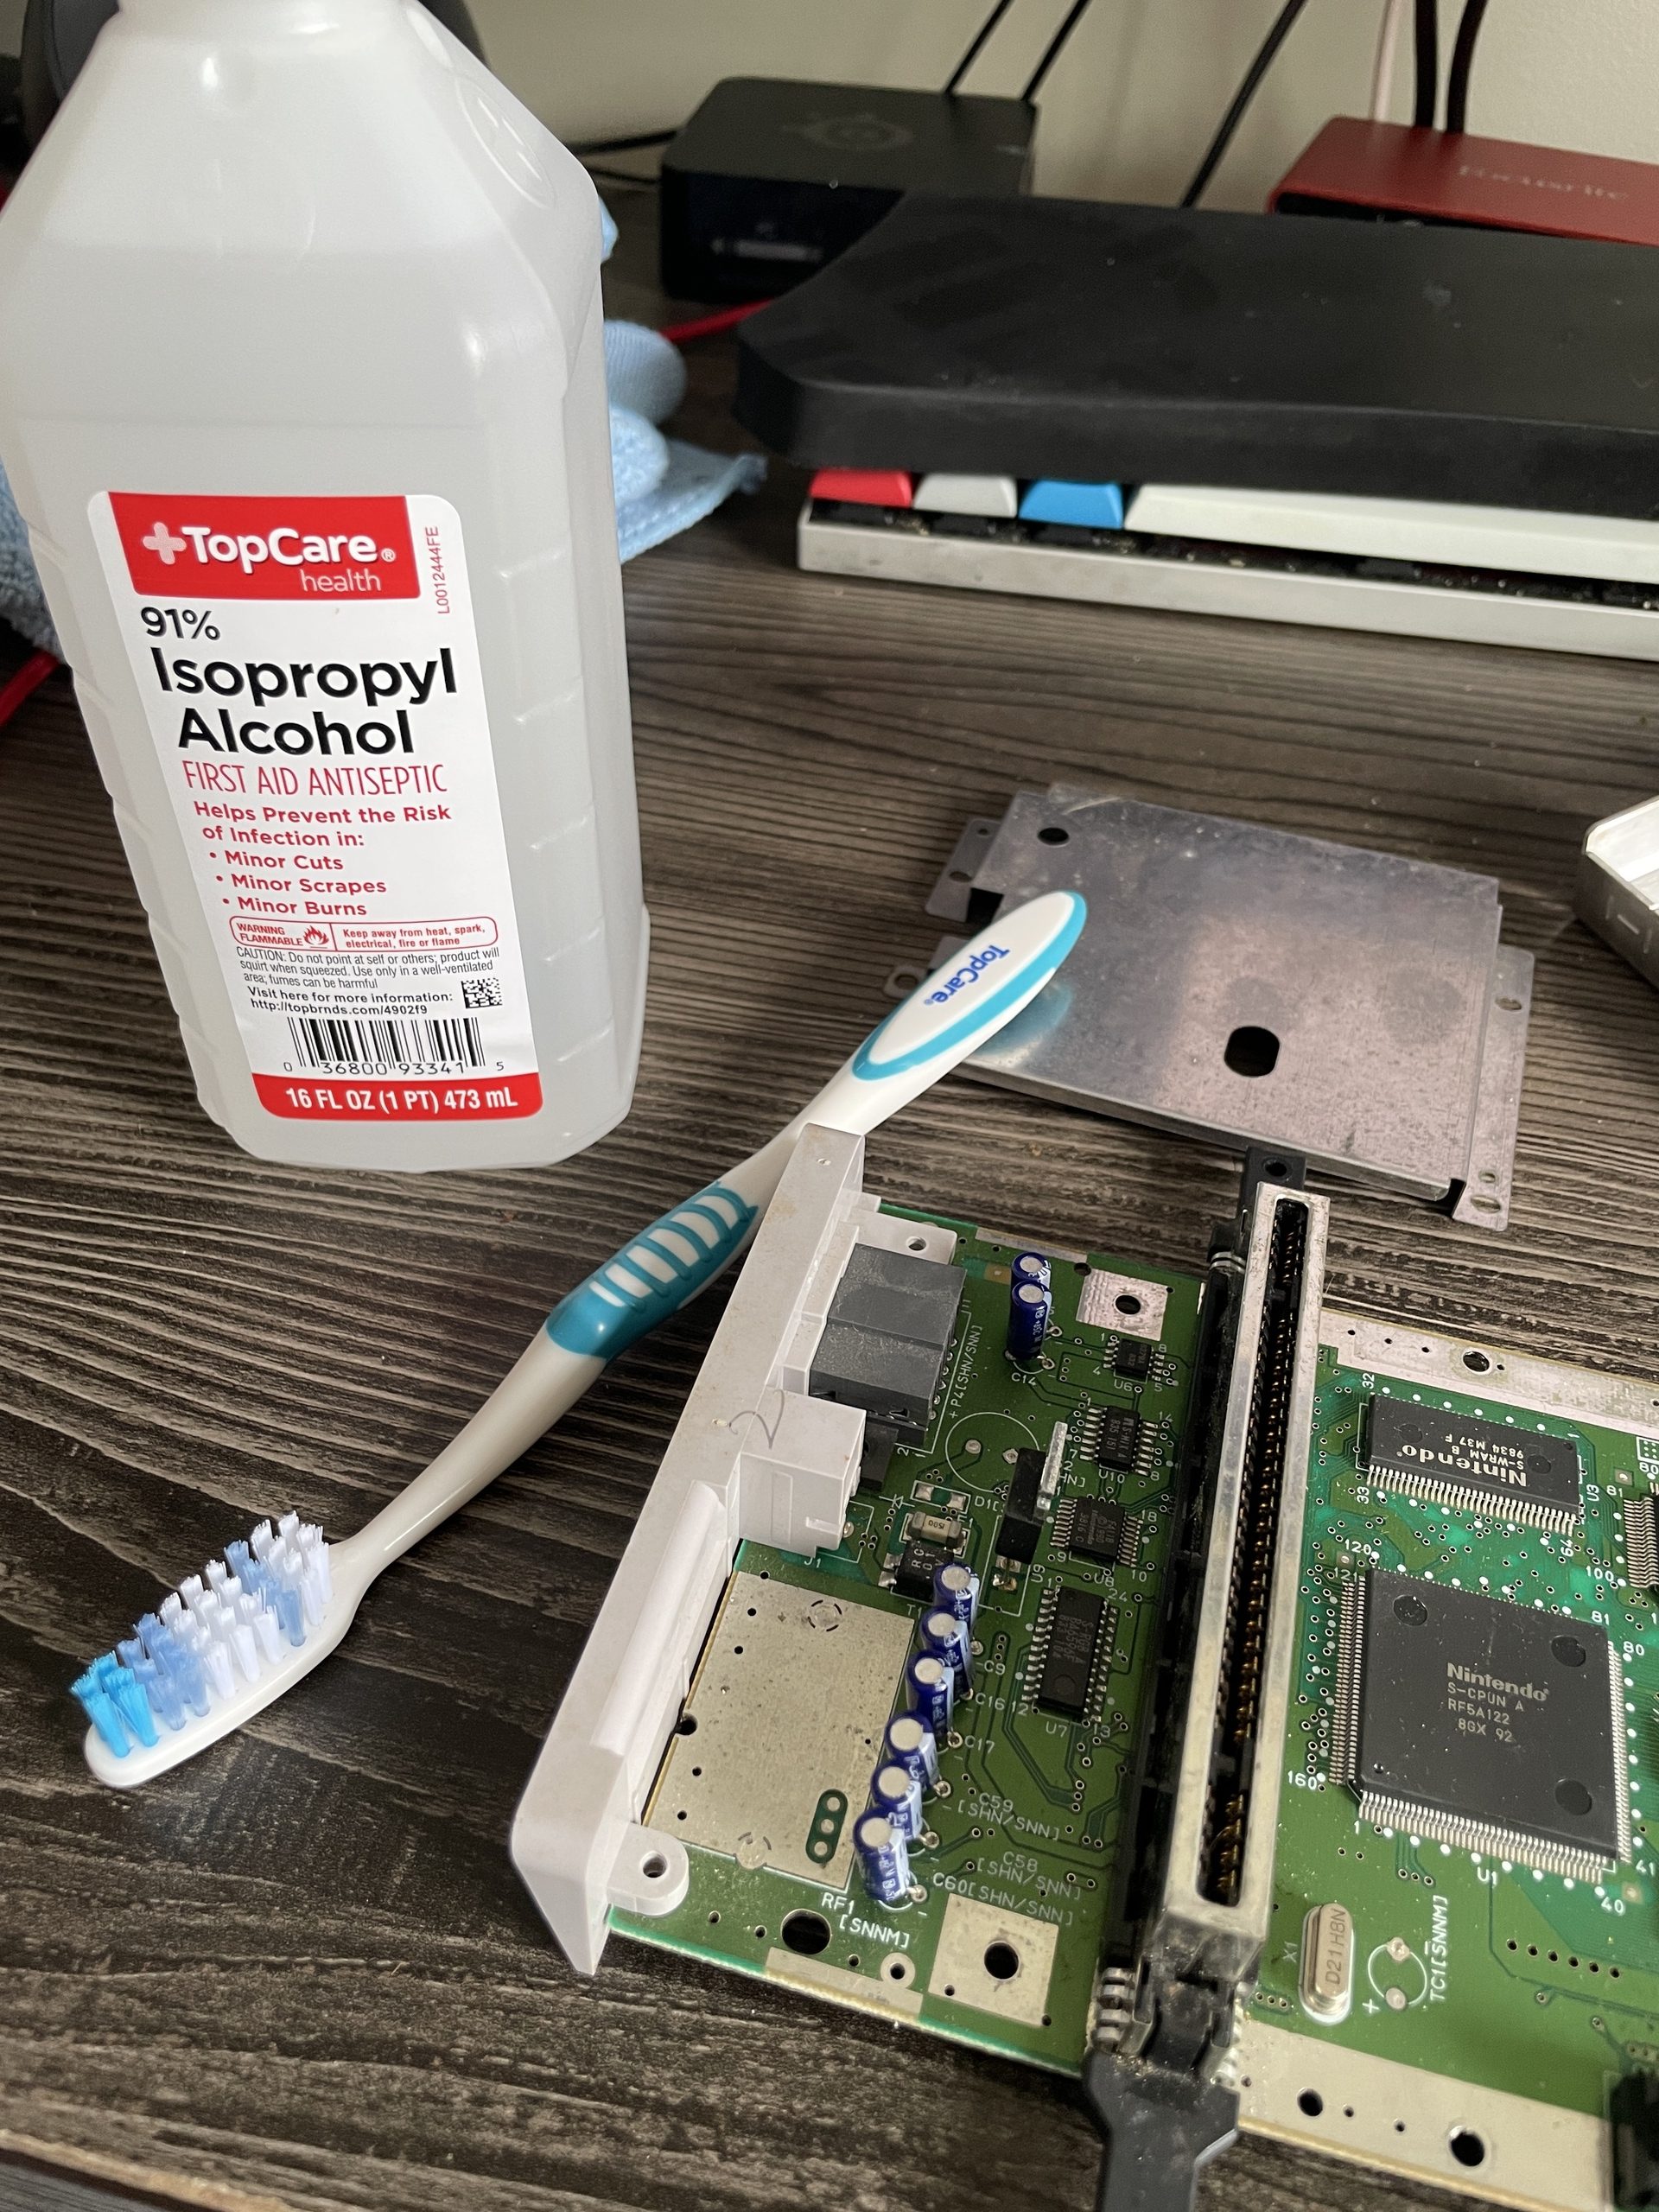
Now it was time to work on cleaning the electronics. The motherboard had numerous spots that I wanted to scrub down. I wasn’t sure if it was rust or caked on dust, but there were specs of stuff present. I especially wanted to take a brush and some isopropyl alcohol to the power and reset switches, and the cartridge slot.
Here are some pics of that process.
After enough scrubbing (if you do this, be careful the bristles don’t get caught in the electronic components) I was happy with the result. There were some spots that just wouldn’t lift up, but nothing too terrible.
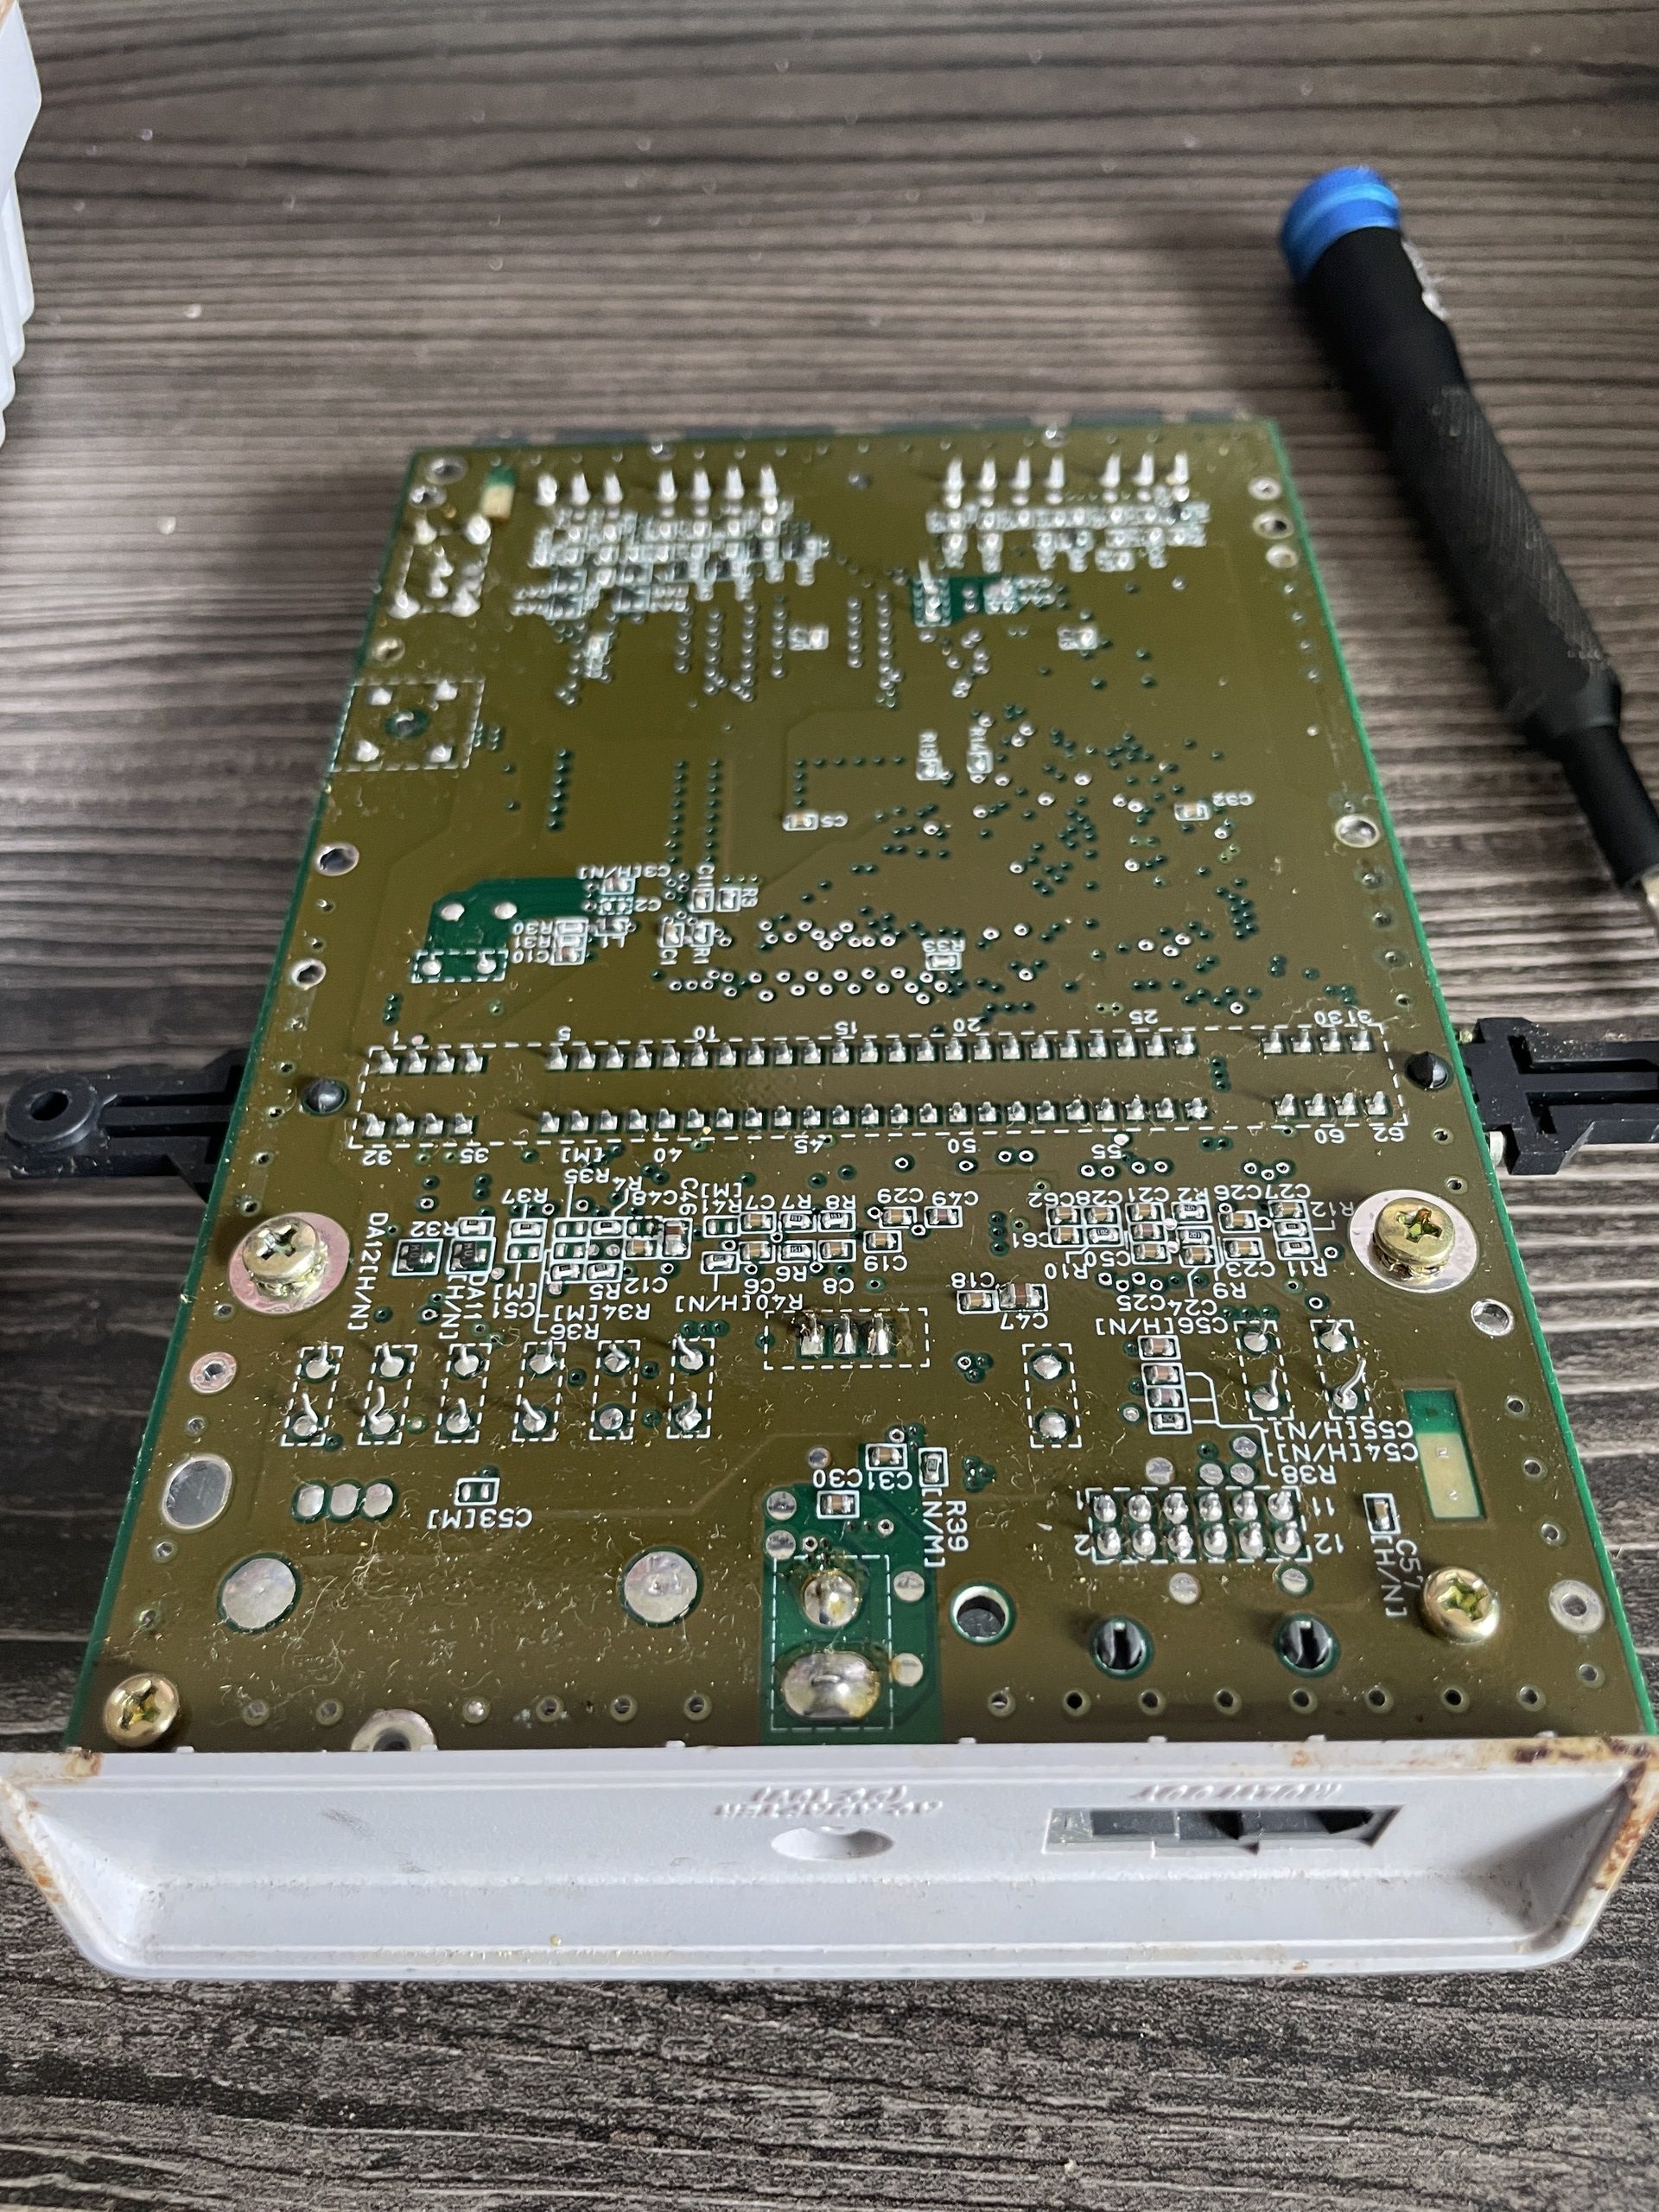
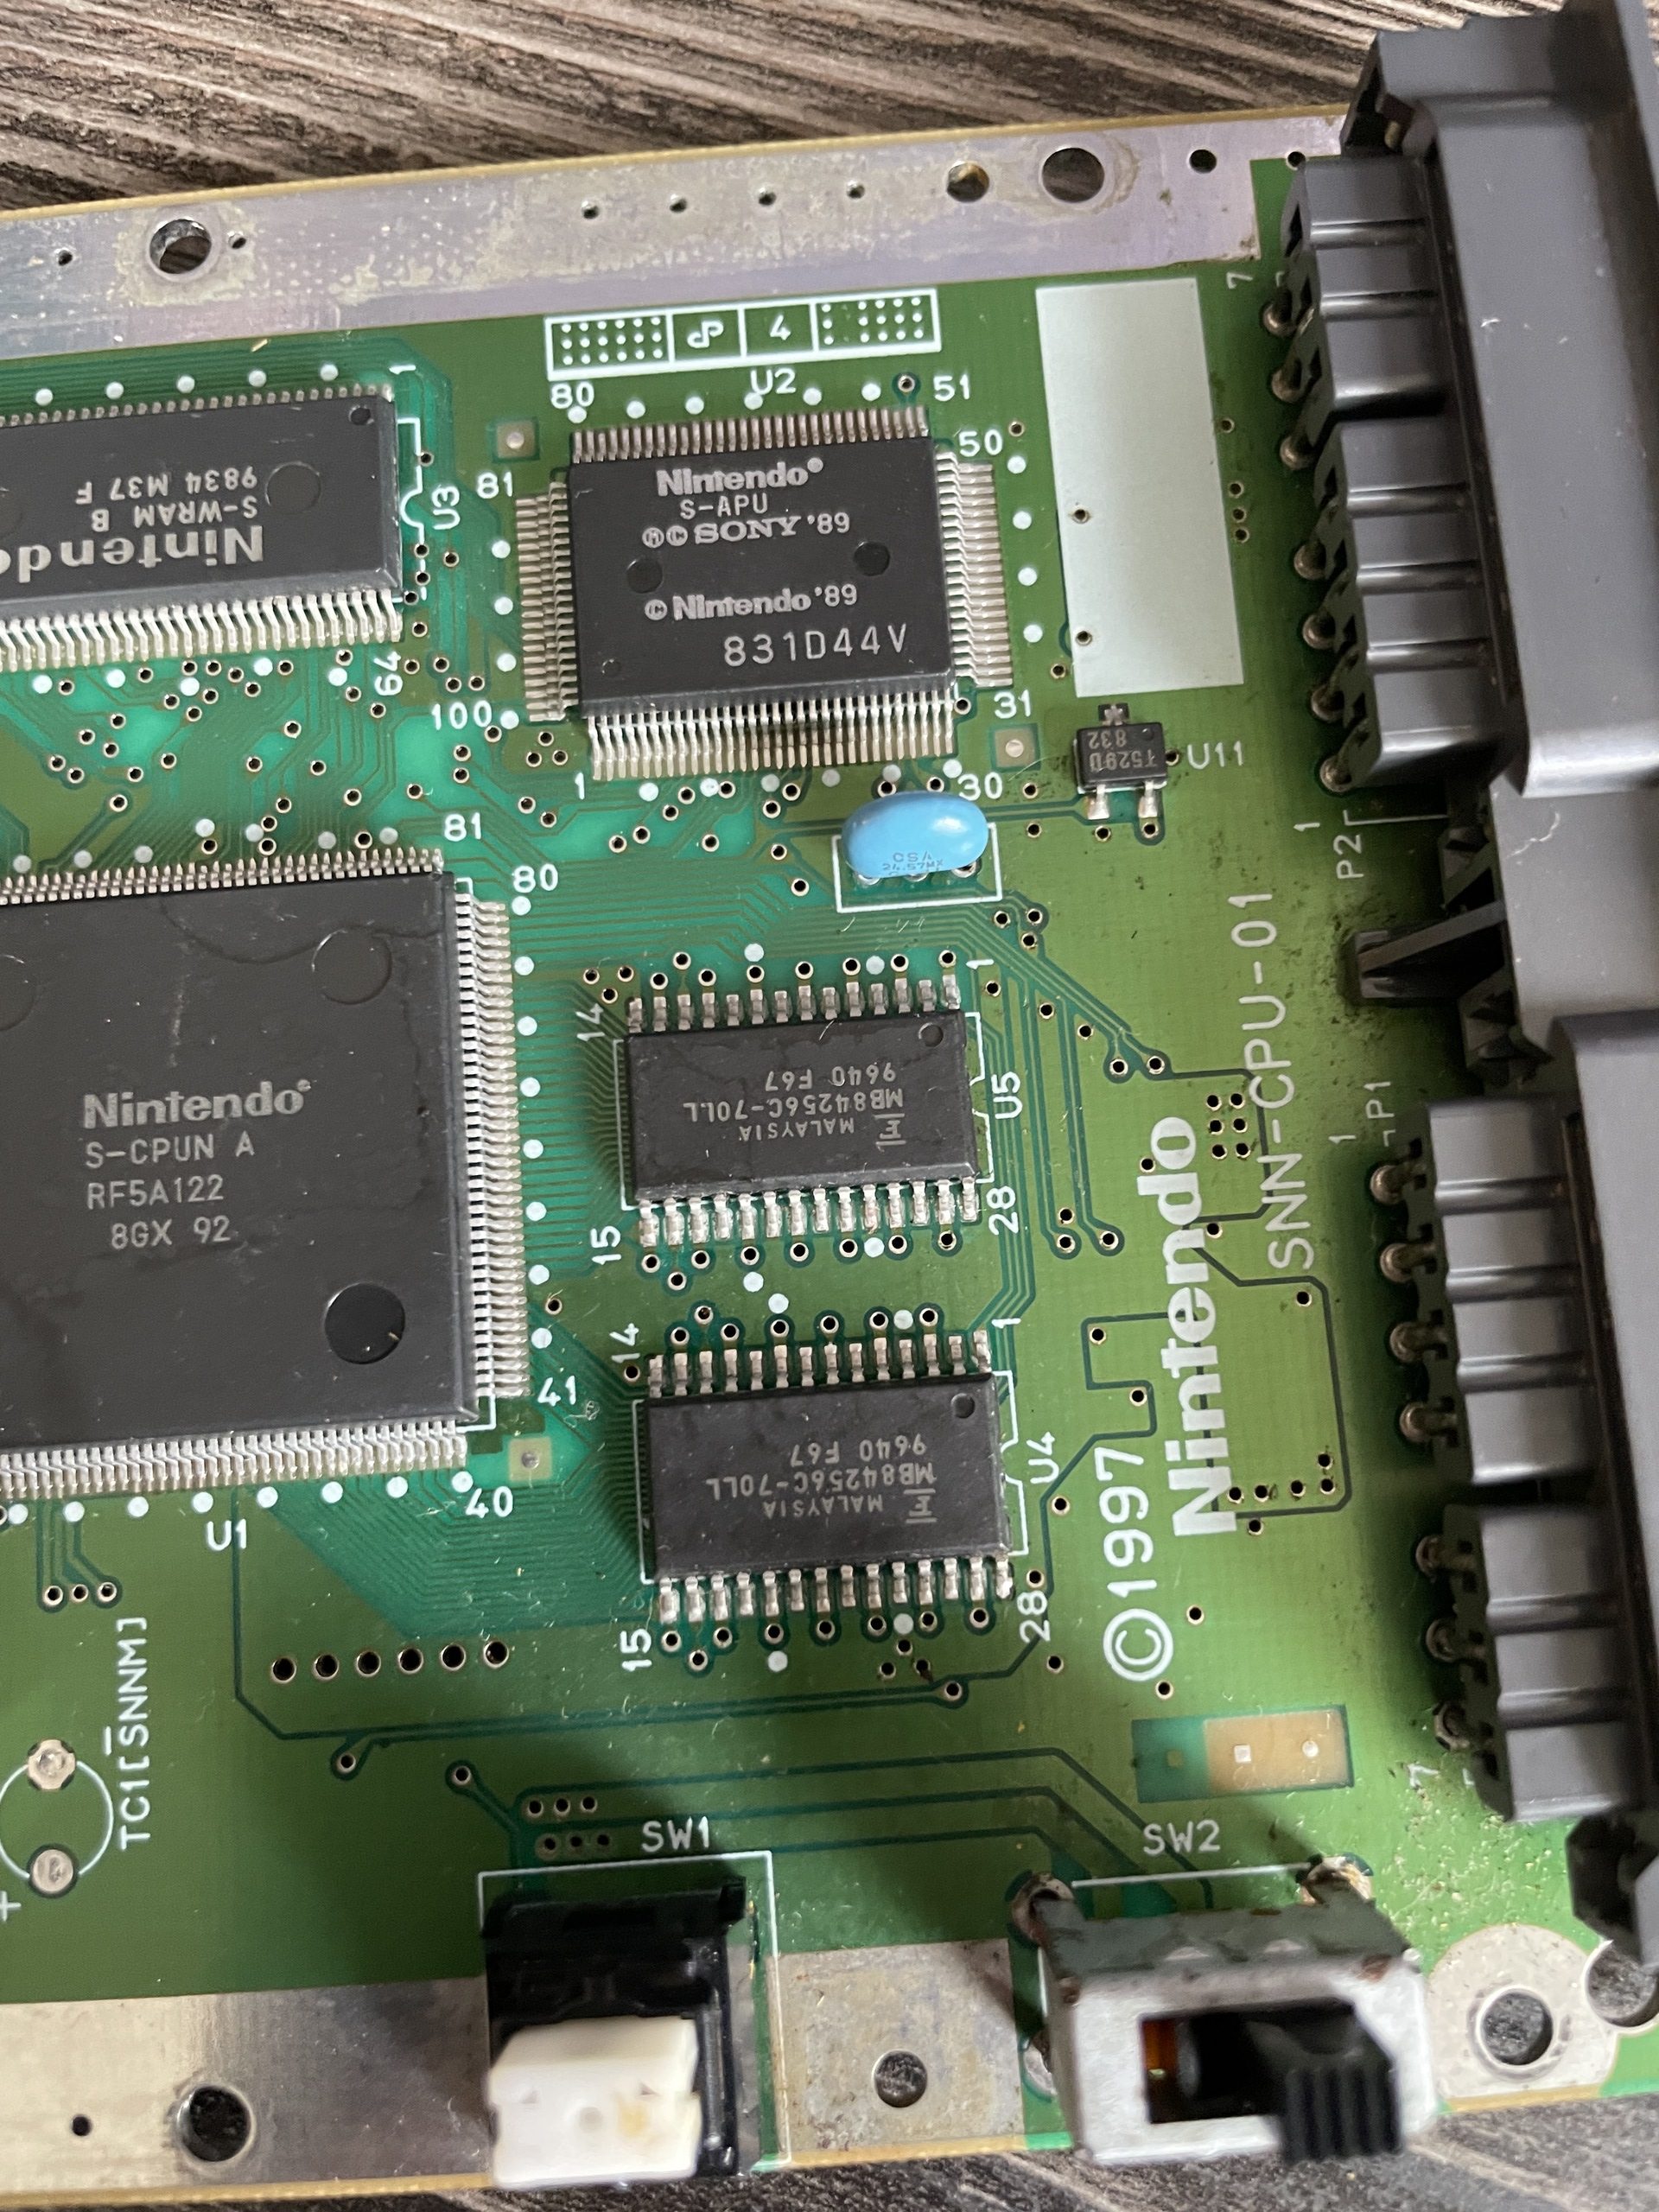
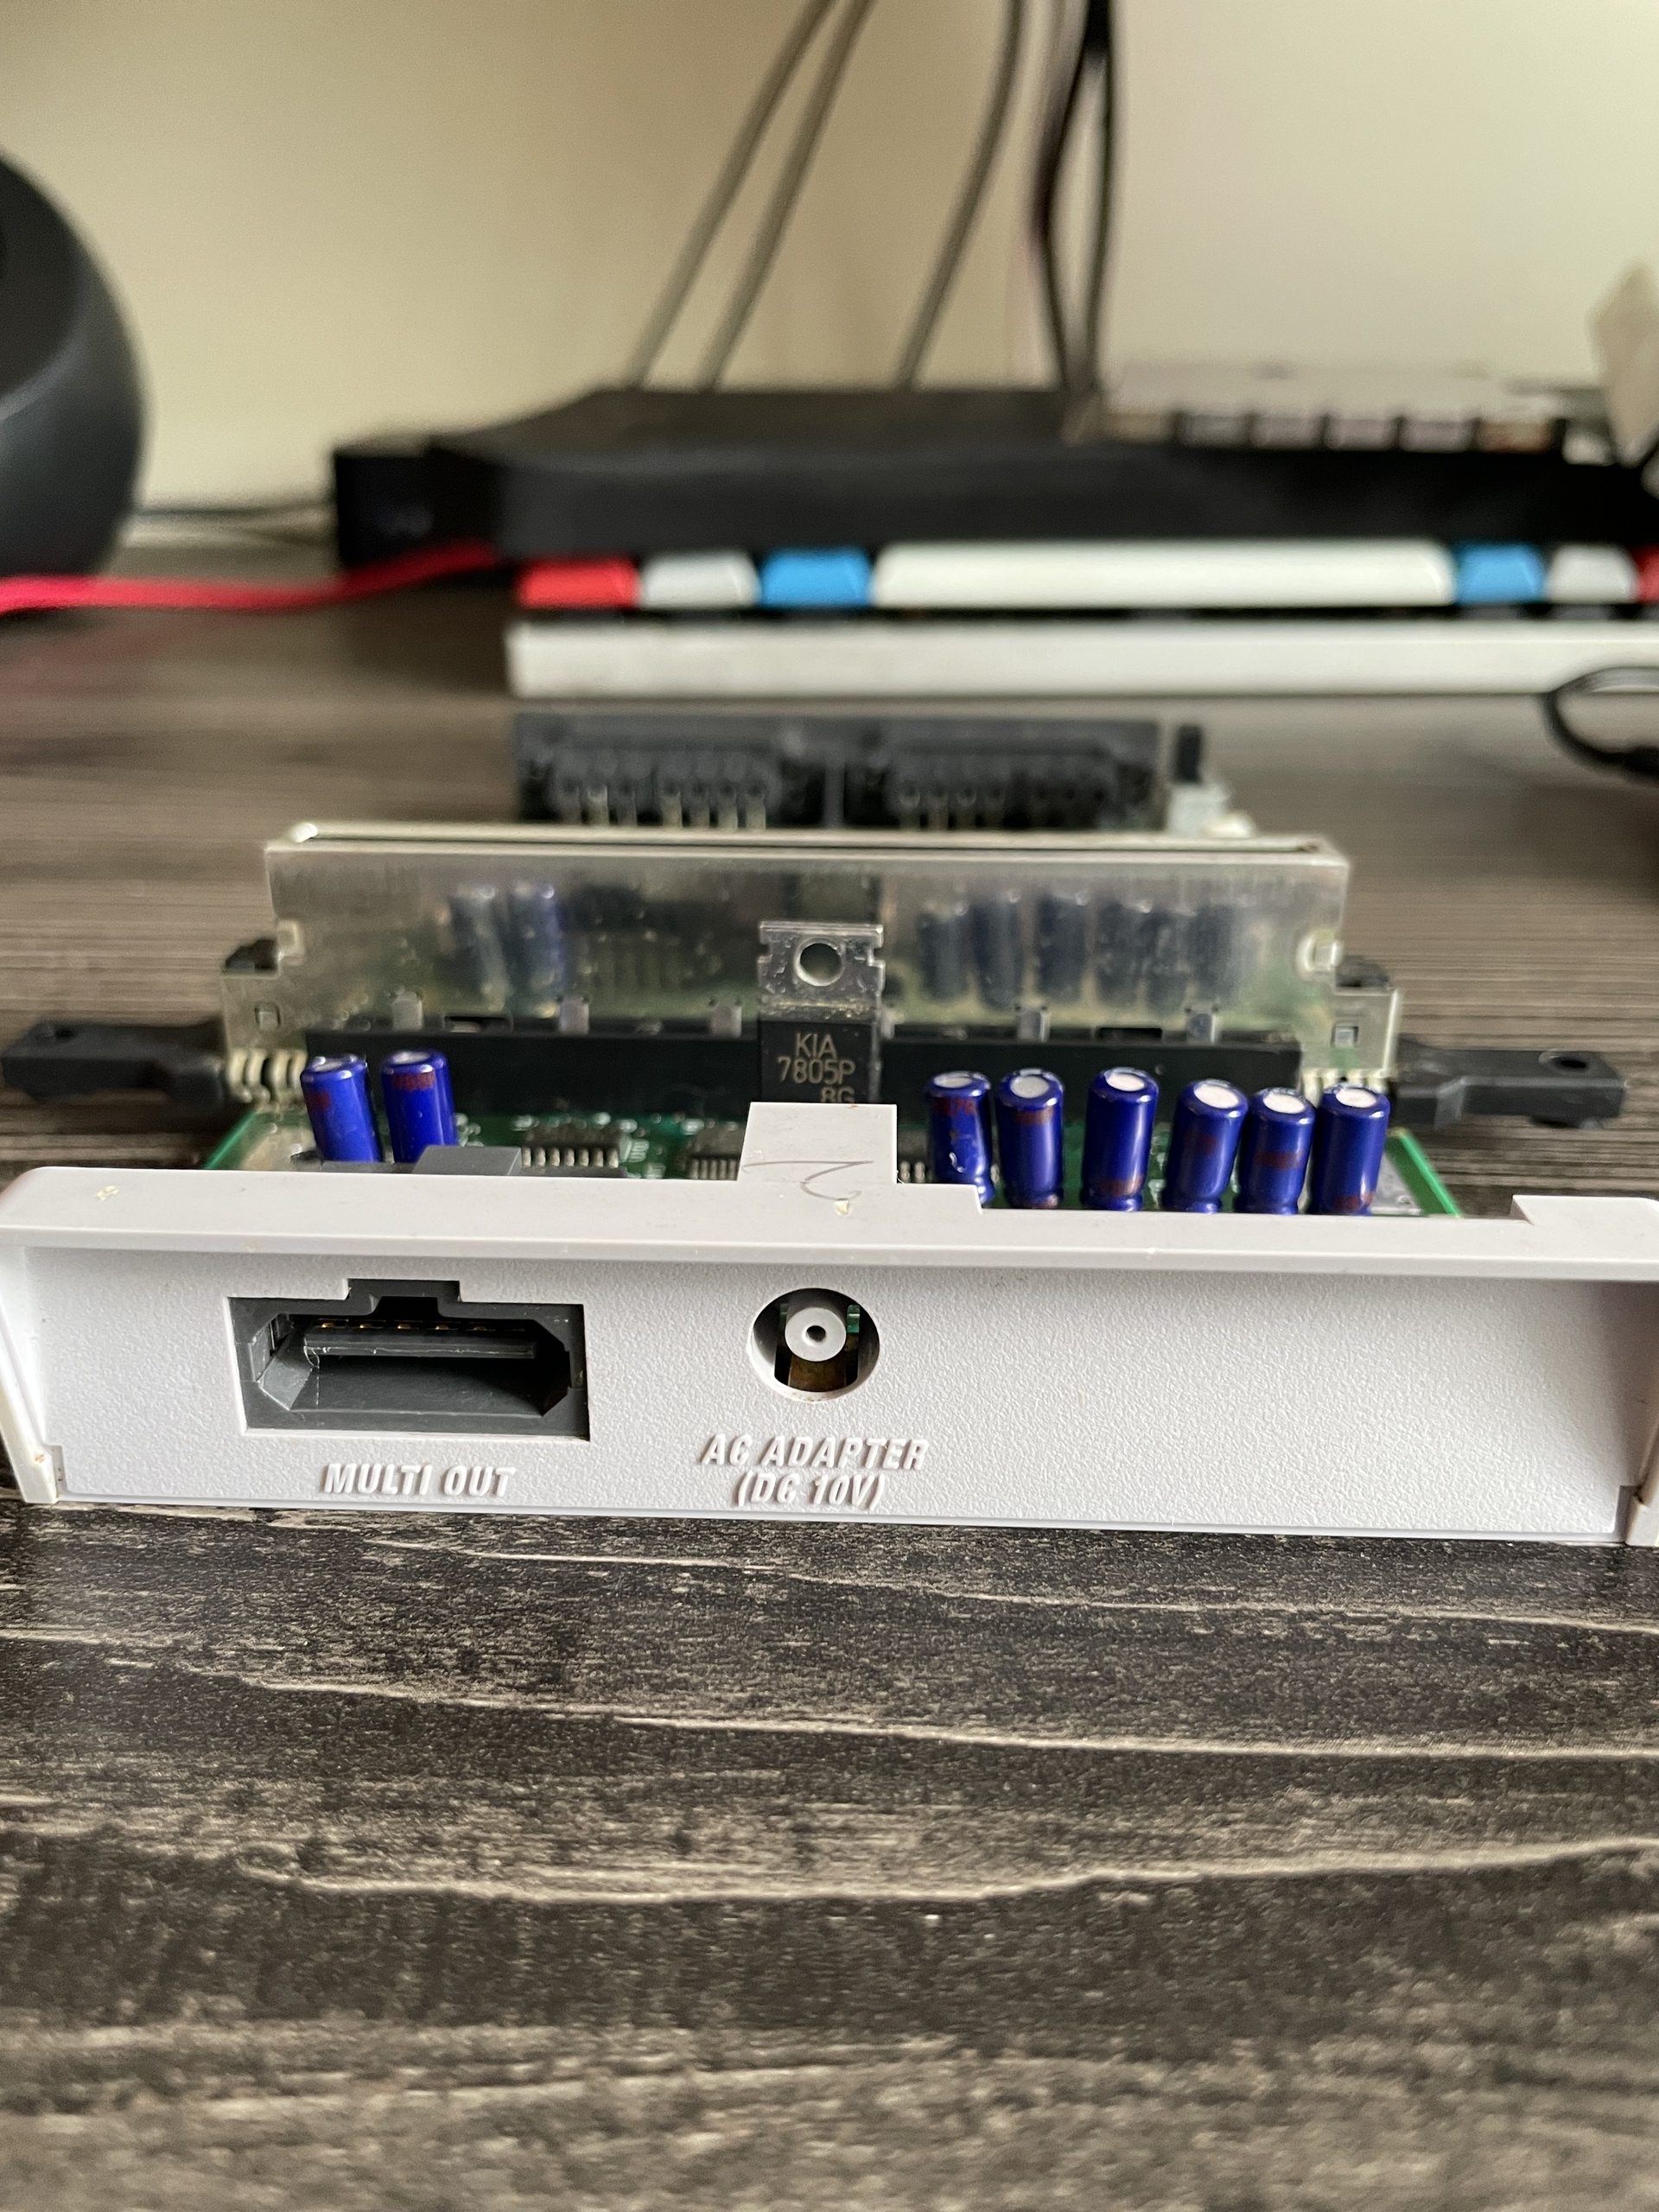
Here are some pics of the electronics after I scrubbed them down with a toothbrush and some isopropyl.
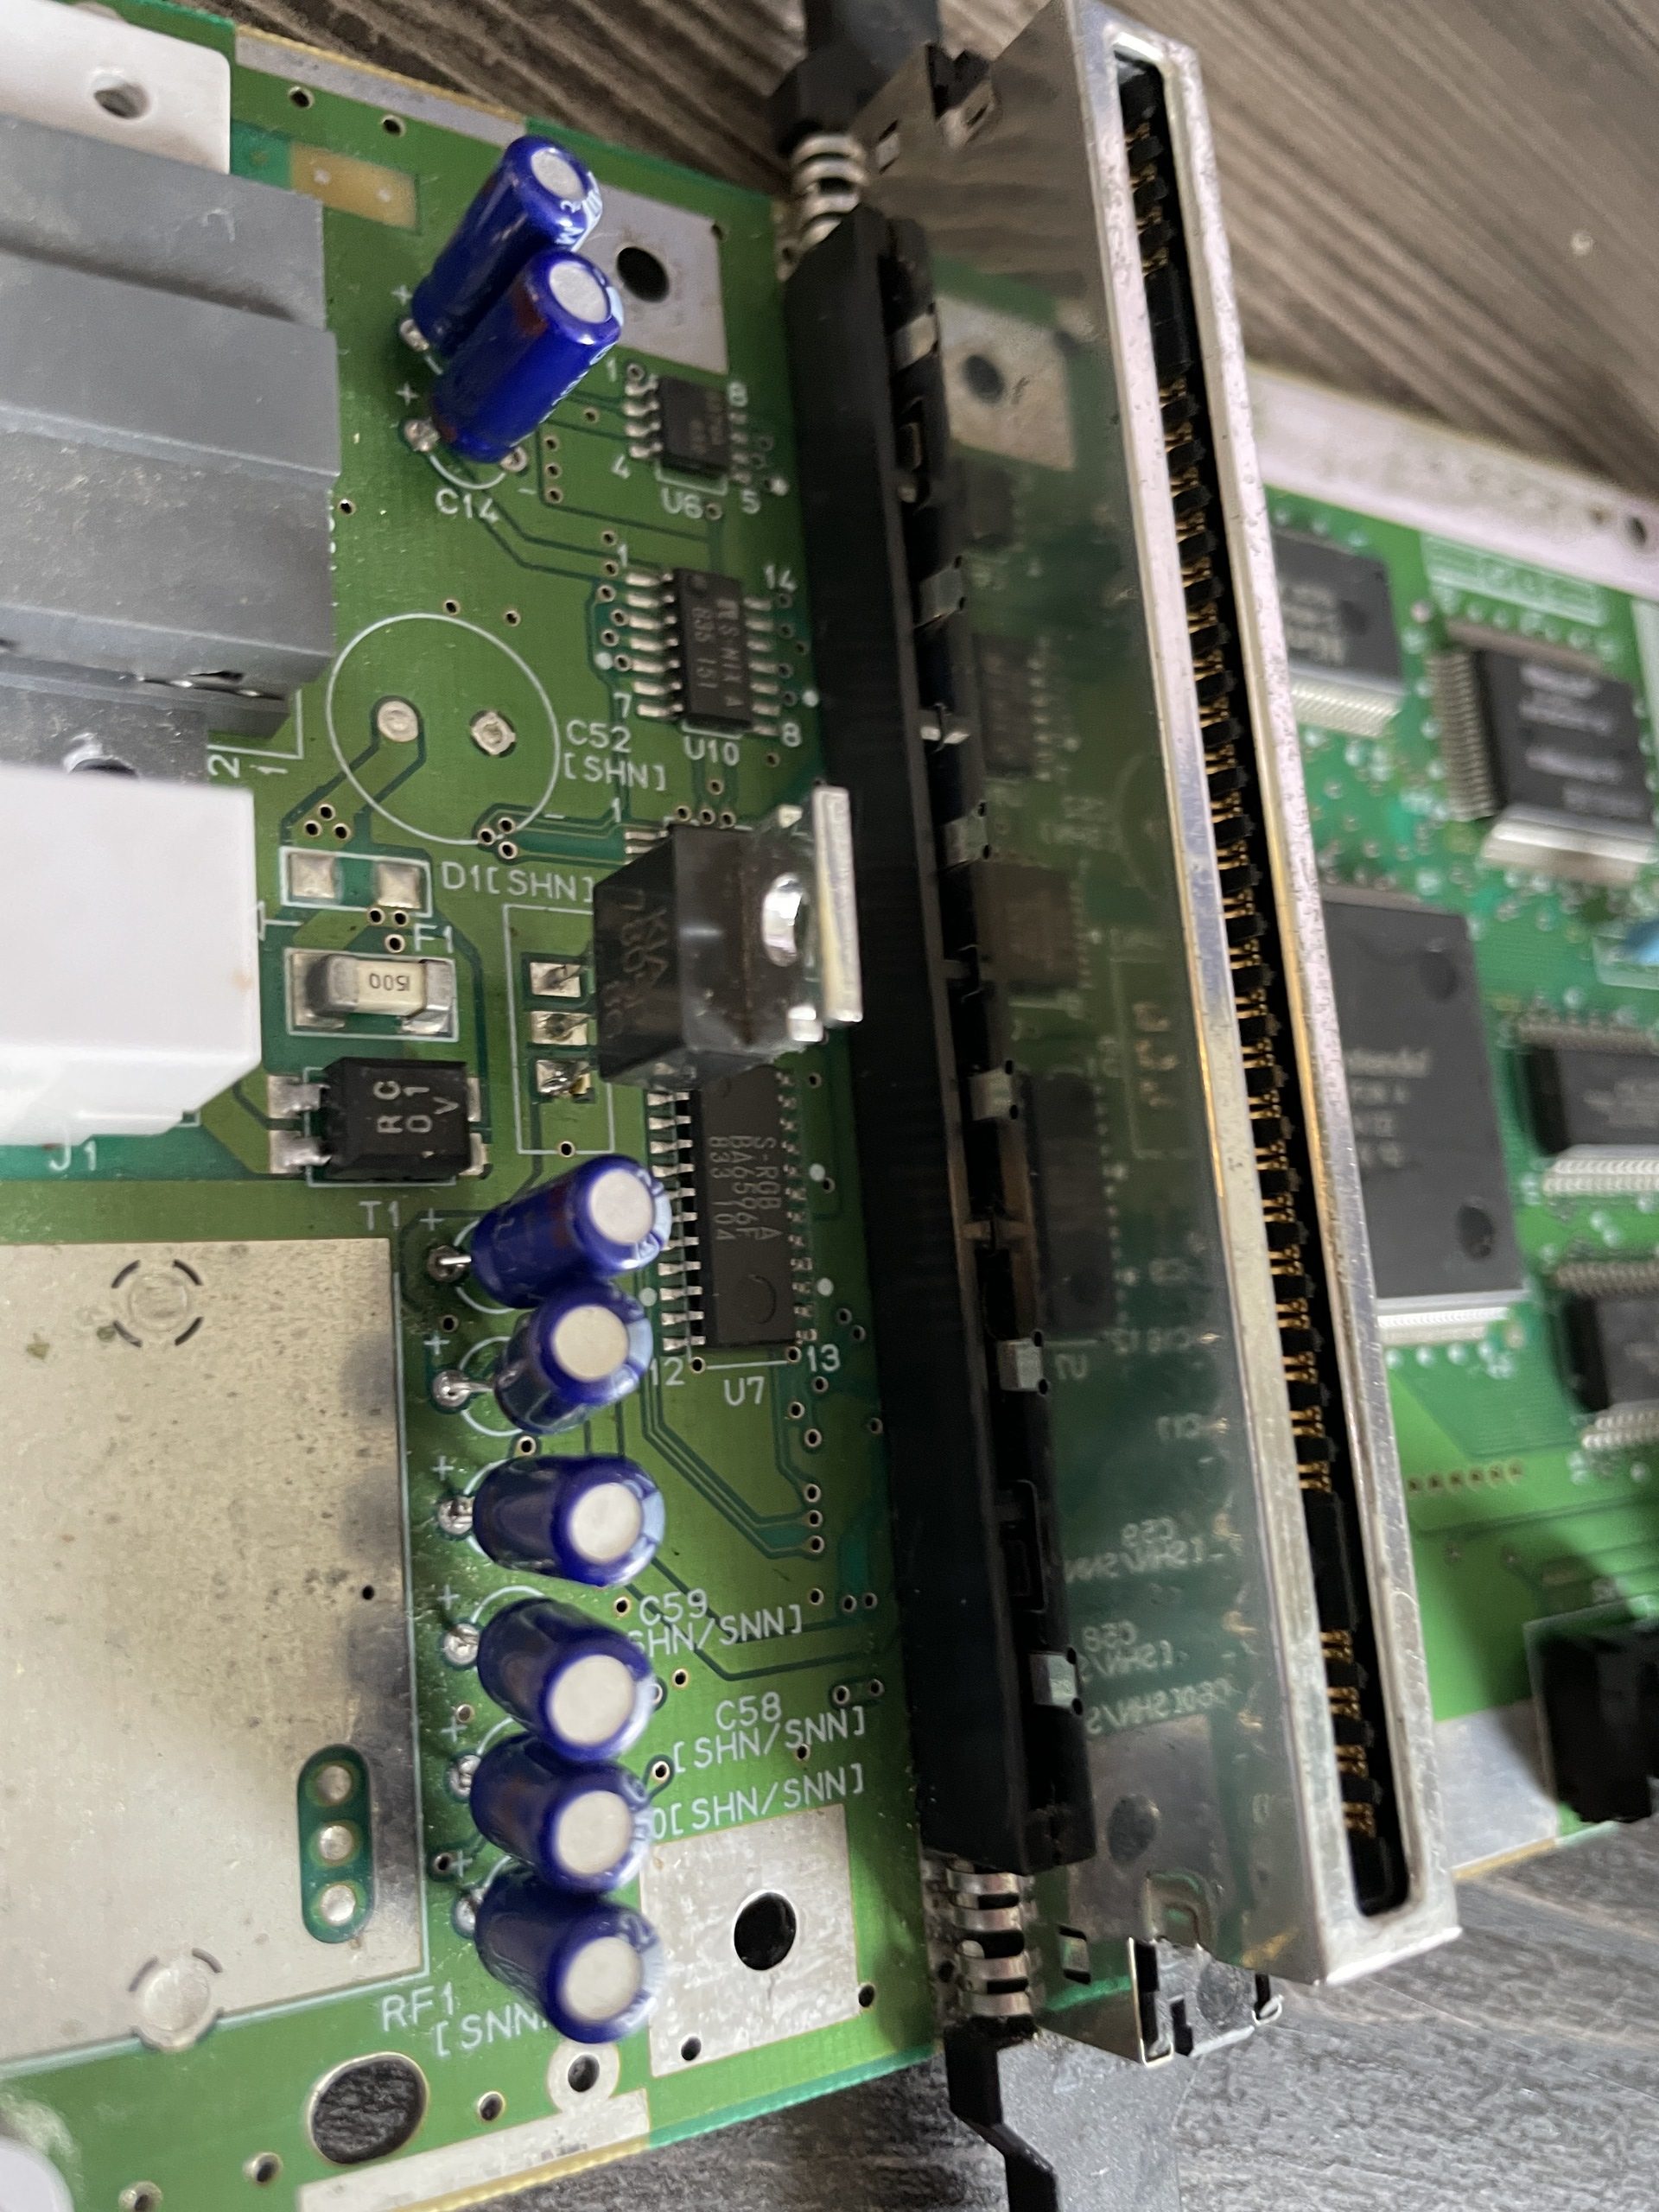
As you can see, there’s still some corrosion, but this is probably as good as it’s going to get with the tools I have. More importantly, I am really happy with the results.
By the time I finished cleaning the electronics, the other plastic parts have finished soaking (they were in the bucket for about an hour). I took the plastic parts out, one-by-one, and hand washed them with a terry cloth. I was honestly shocked at how well dish soap, water, and some elbow grease was able to clean up the SNES’s plastic bits. Seriously, WOW what a difference. Here are some after pics, and here is a link back to this post that will open in a new tab, so you can view them side-by-side.
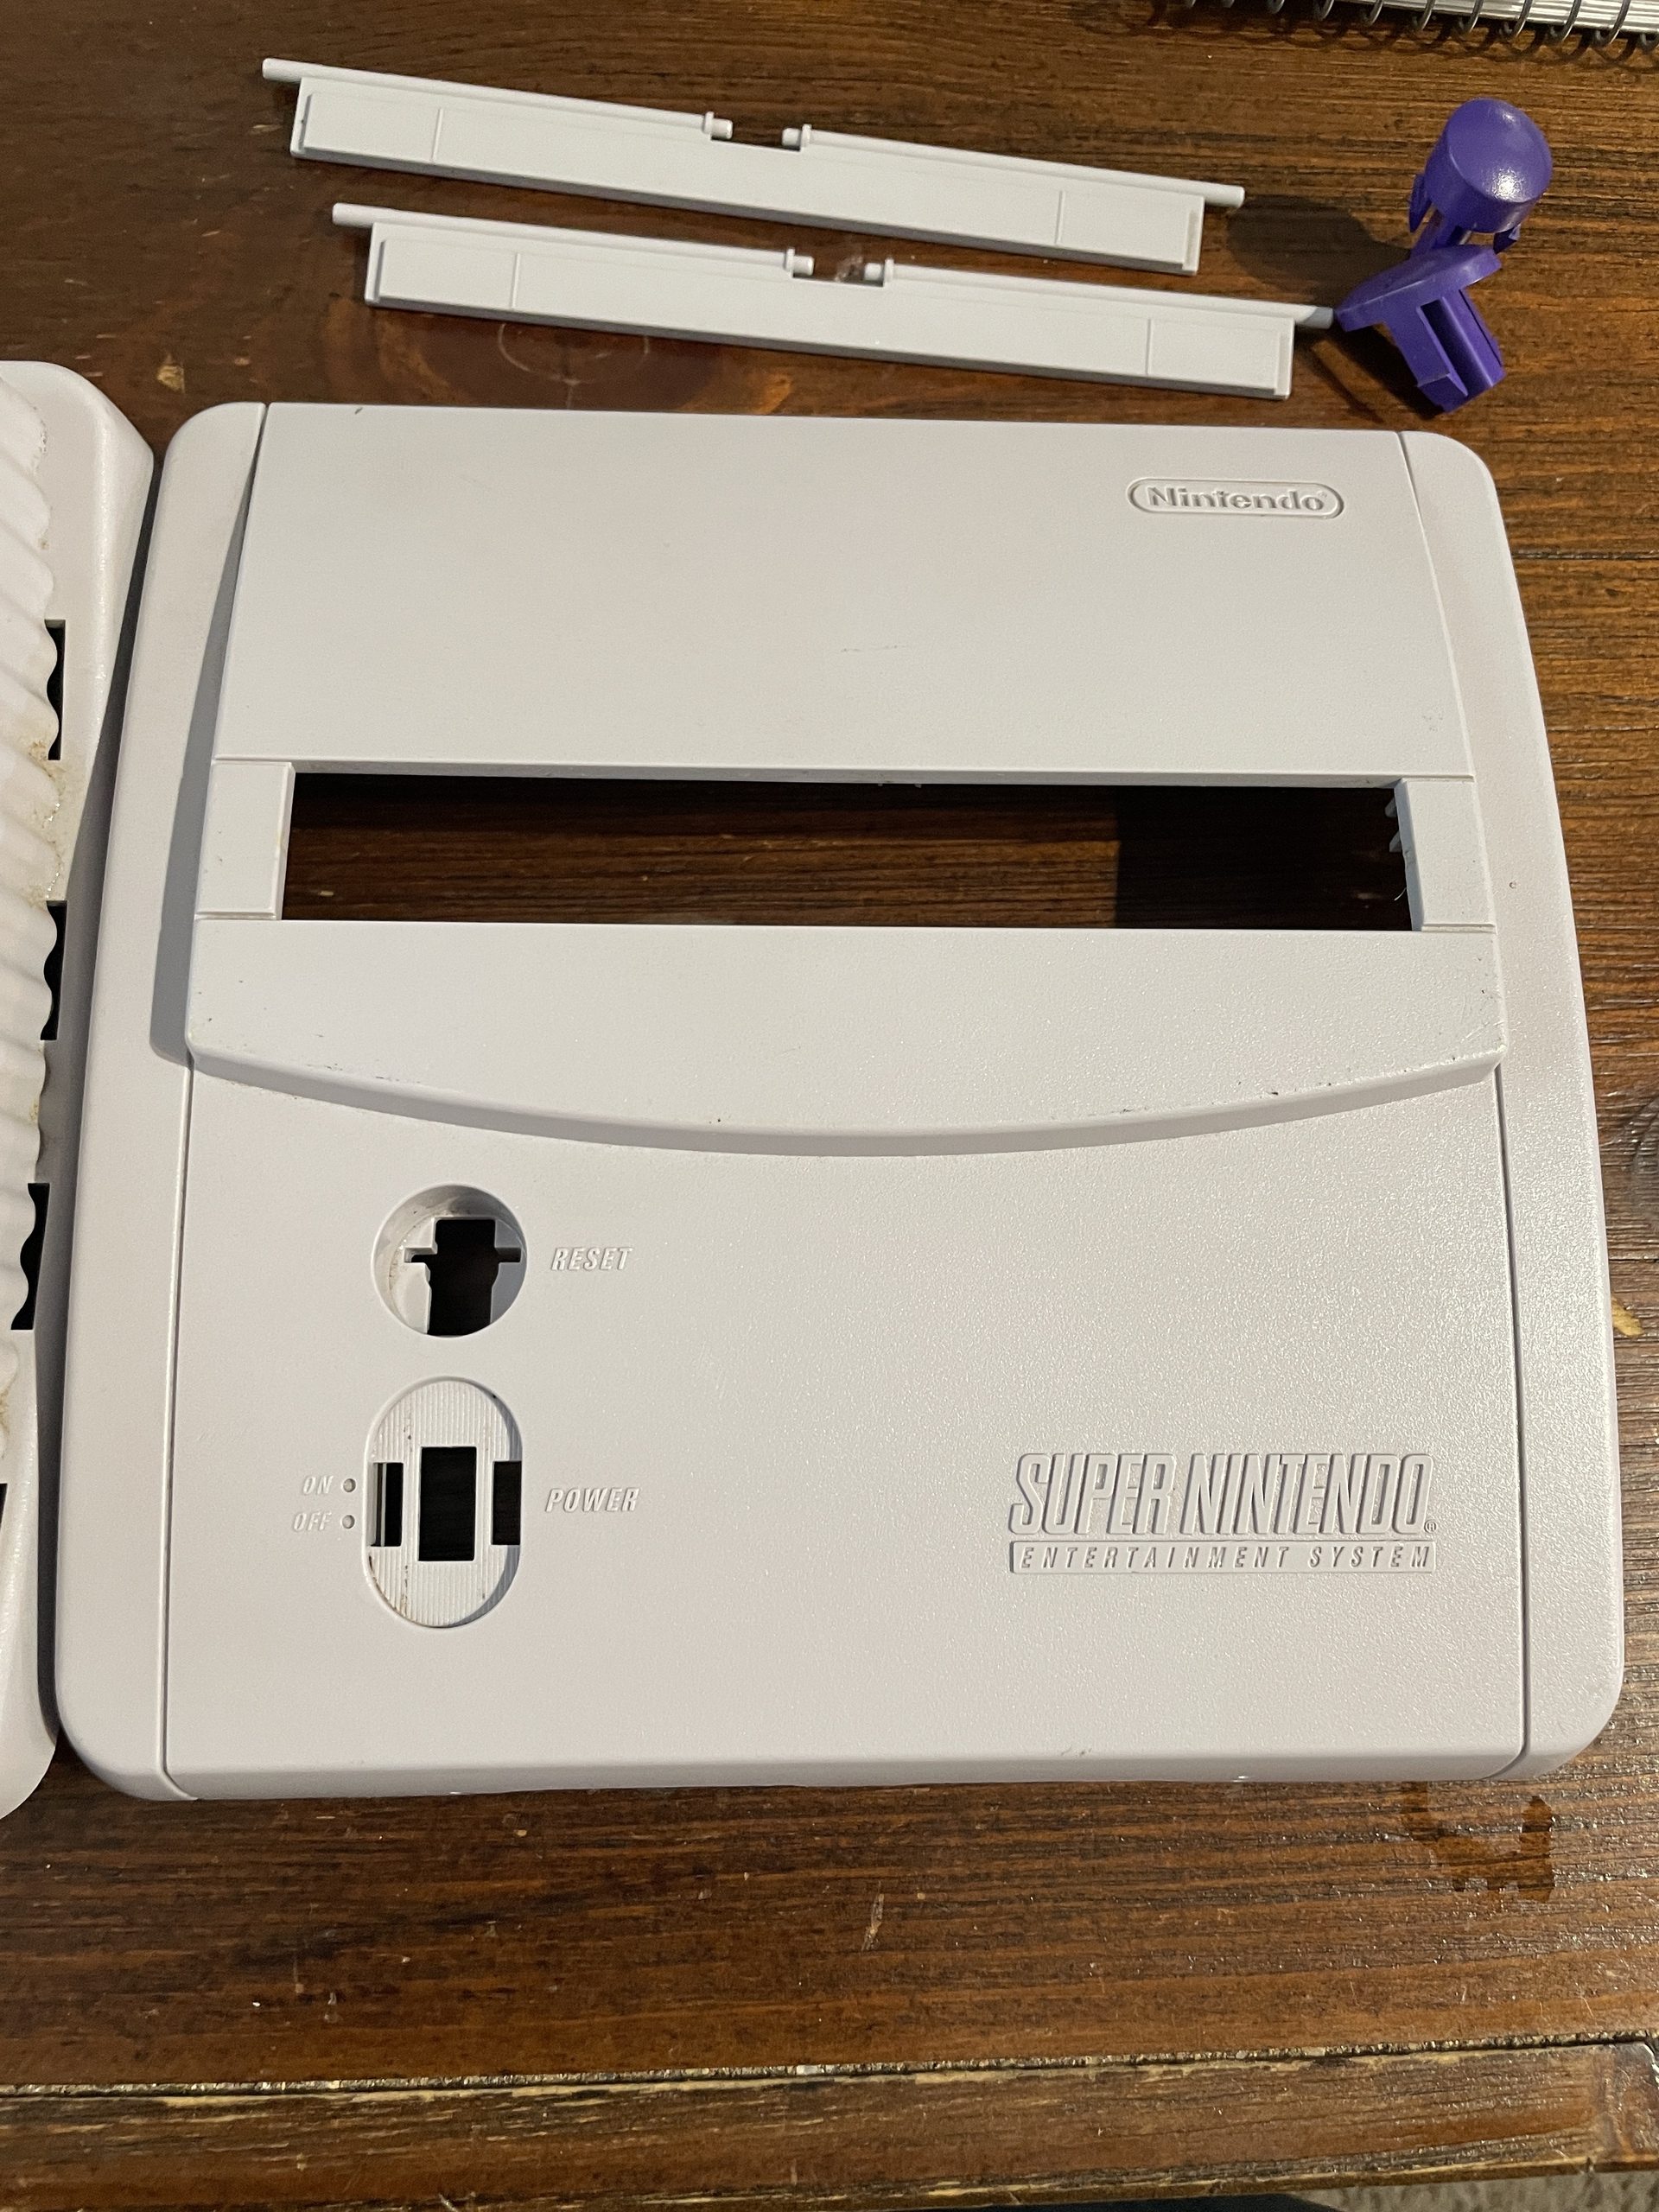
And with is all put back together, she has been (almost) restored to her former glory.
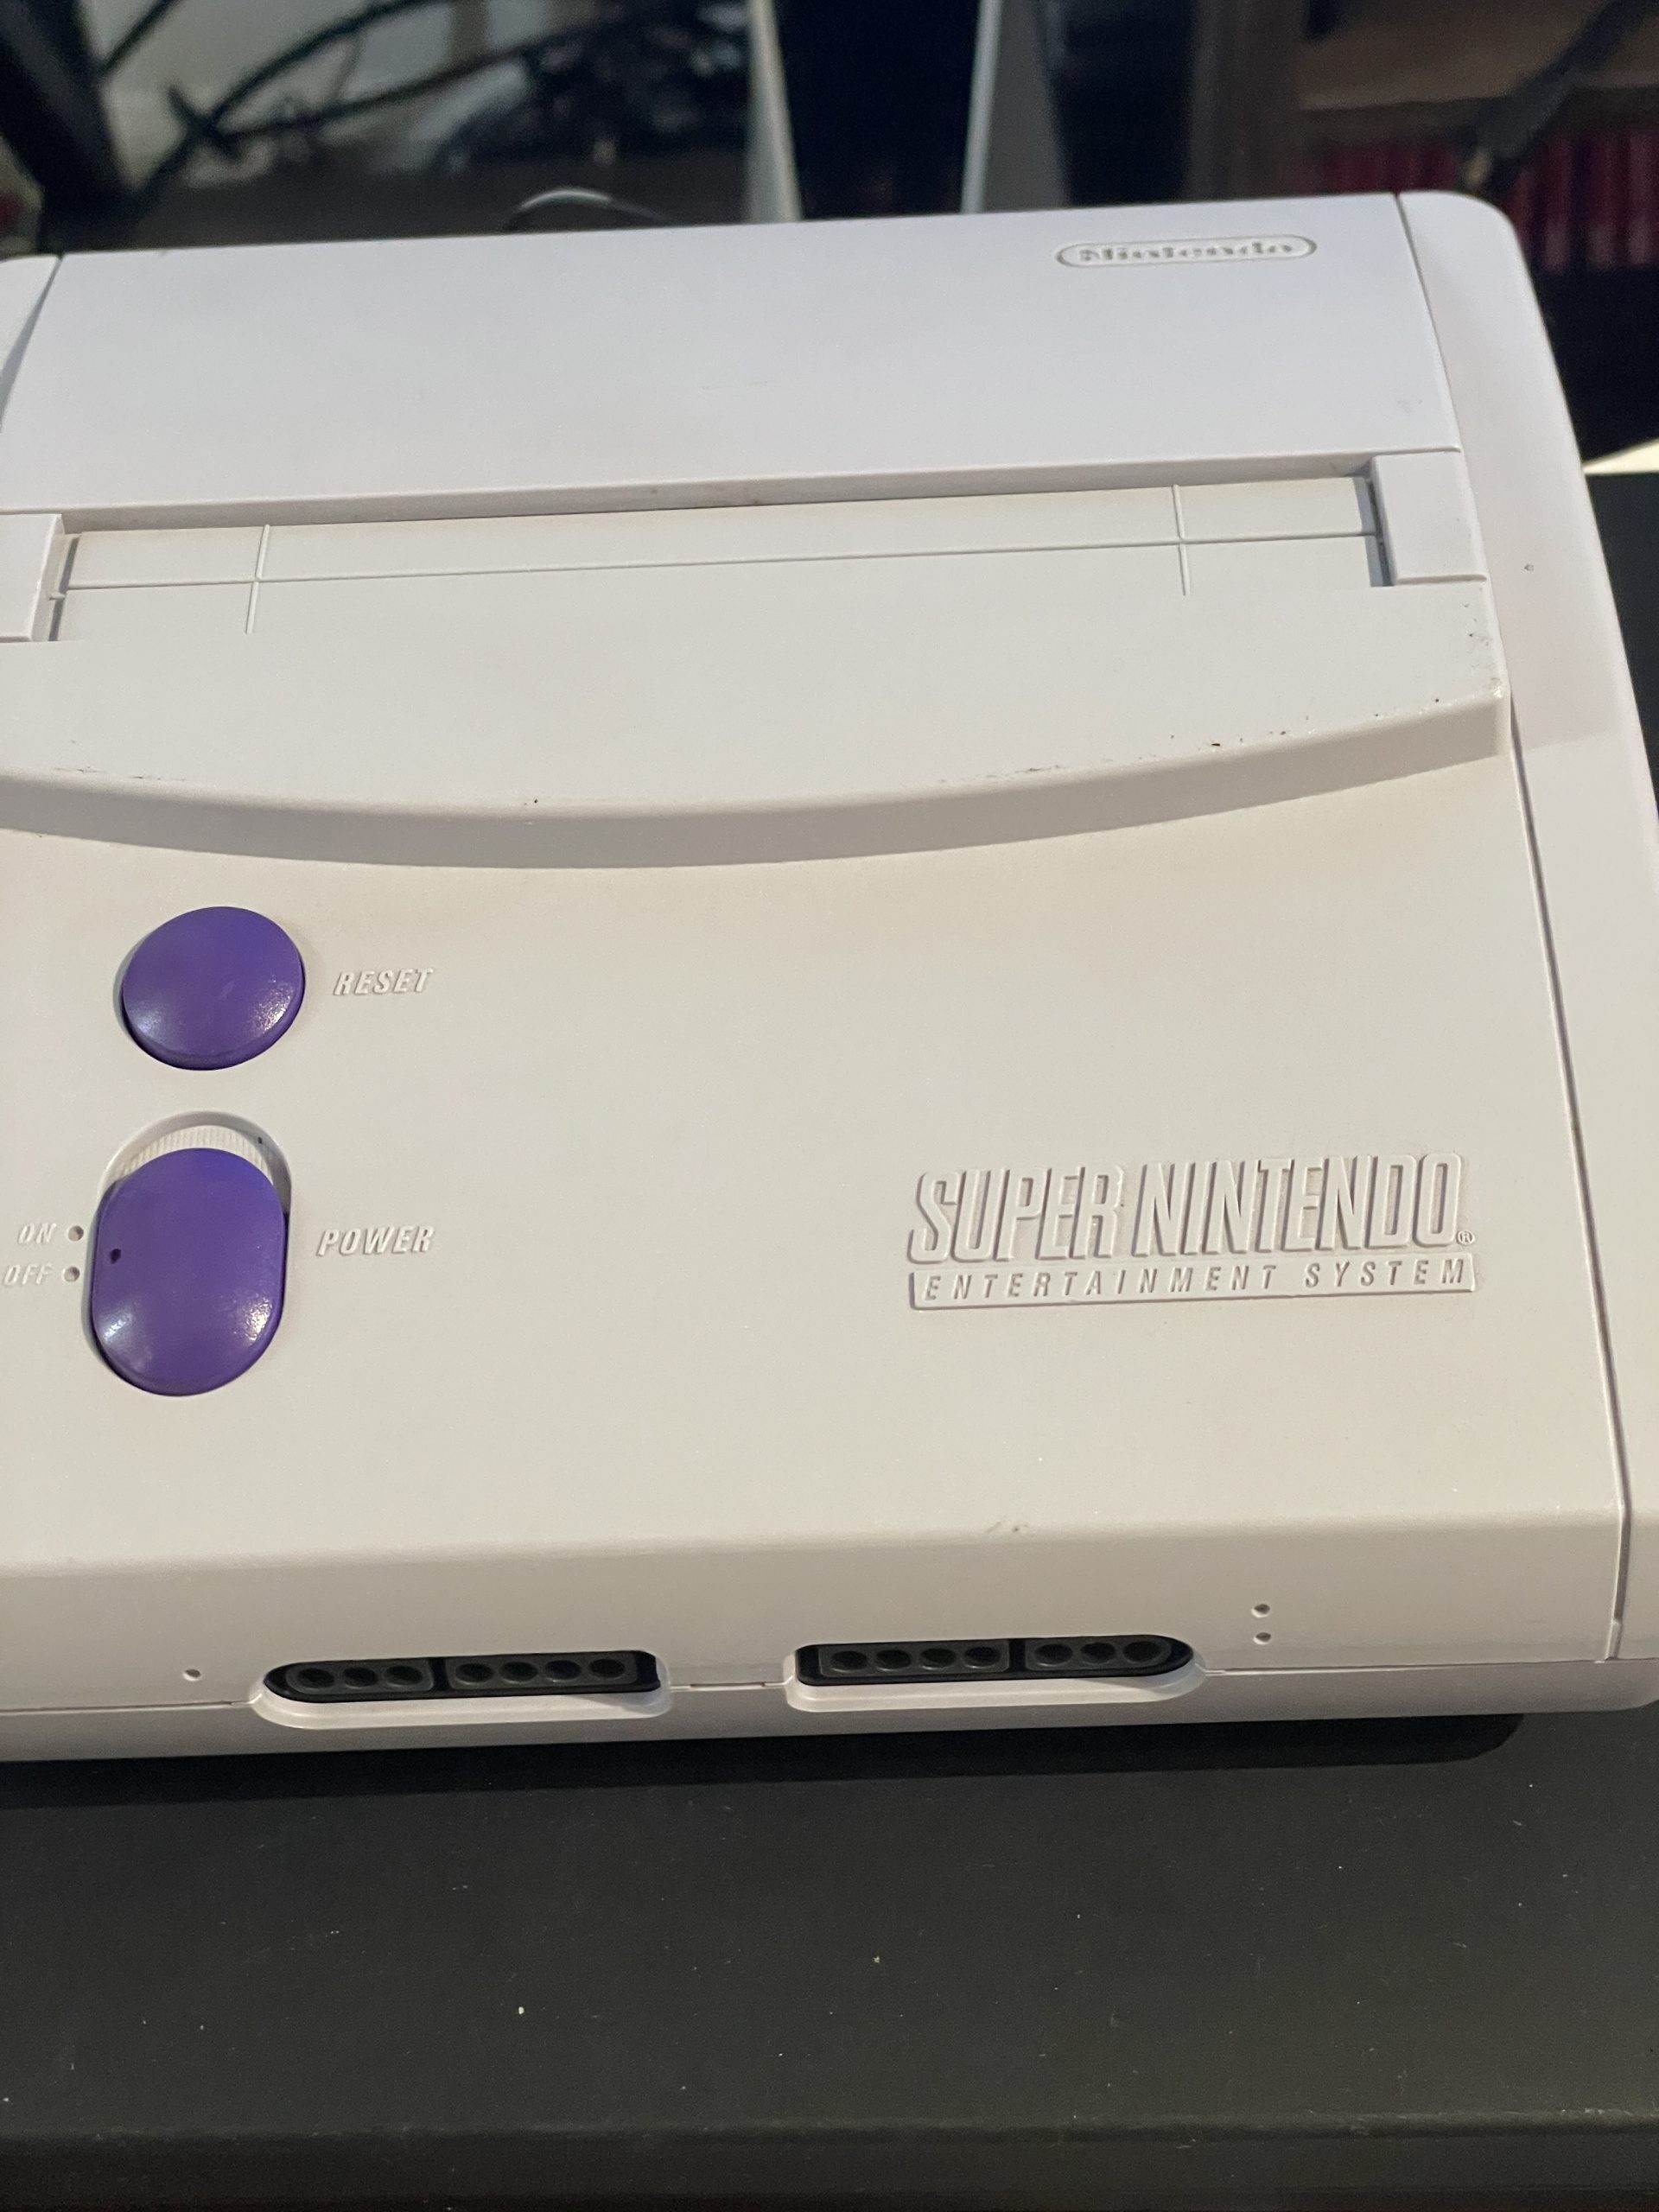
After getting everything hooked up to my TV, I powered it on and it worked! Too bad it looks like absolutely dog water on this TV. It looks like it may be time to go shop around for a CRT again.
That’s it — Go play some retro games or something